Dimensions
This was always a project I had been dreading every since I found out it was 3D modelling. I don’t know why but I’ve always struggled working with 3D software, my only previous experience was Fusion 360 which we used in Techi back in High school…
However much I was dreading it thought I was exited to have another opportunity to get to grips with 3D modelling and really get something form it.
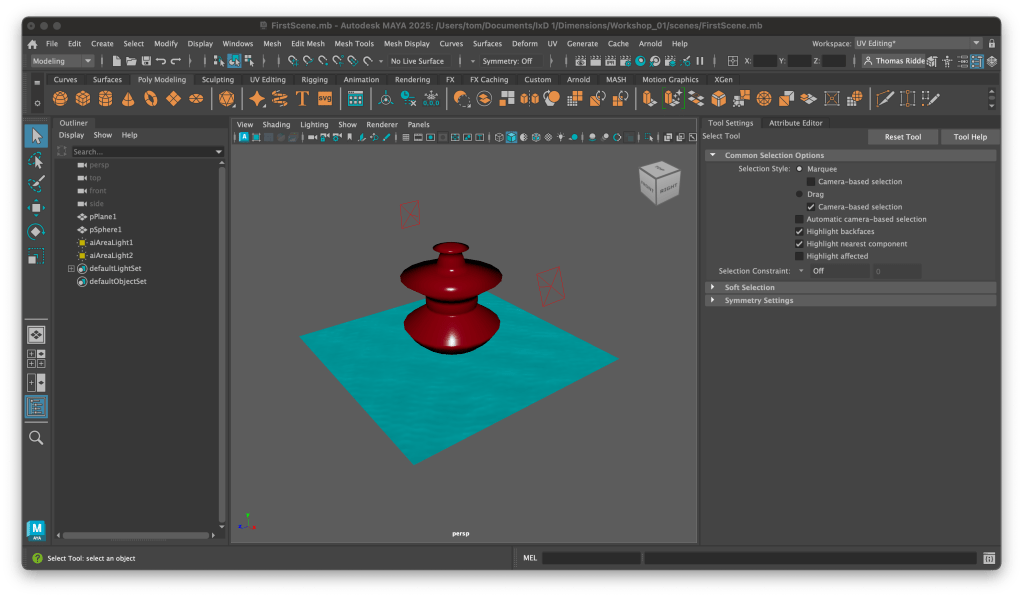
The first two workshops were great, I really felt like I was getting to grips with Maya as a package and how to work with primitives and just generally navigating in 3D space. An example of the random shapes I was messing about with.
Here we were also looking at textures and lighting but all very basic and simple methods.
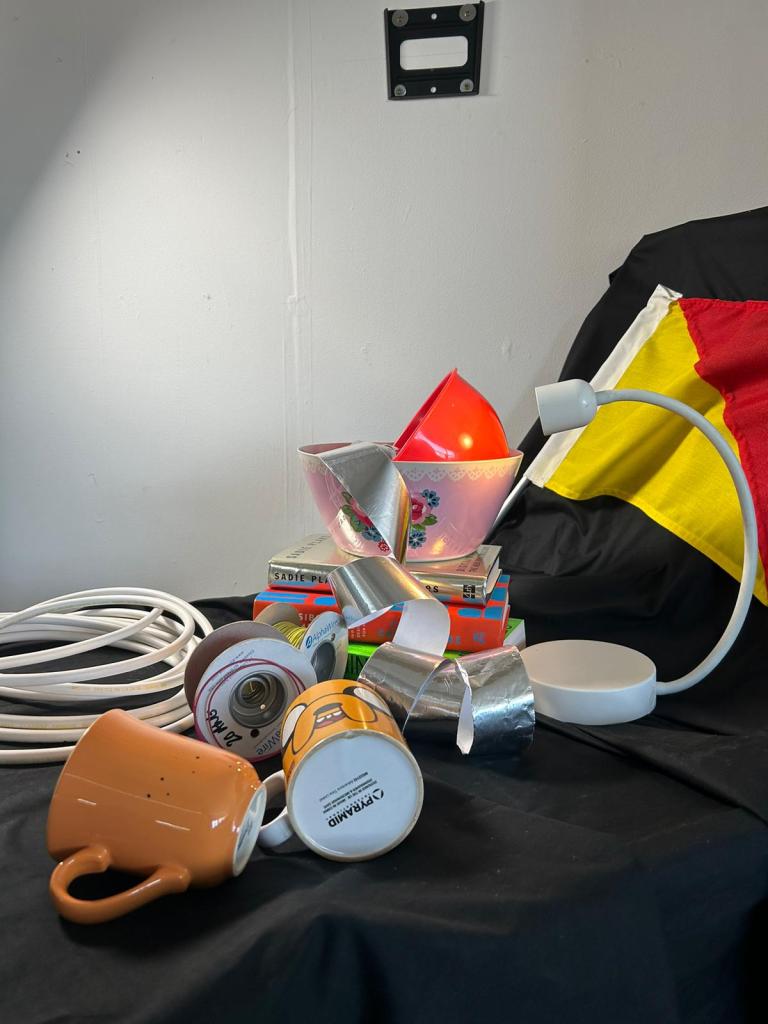
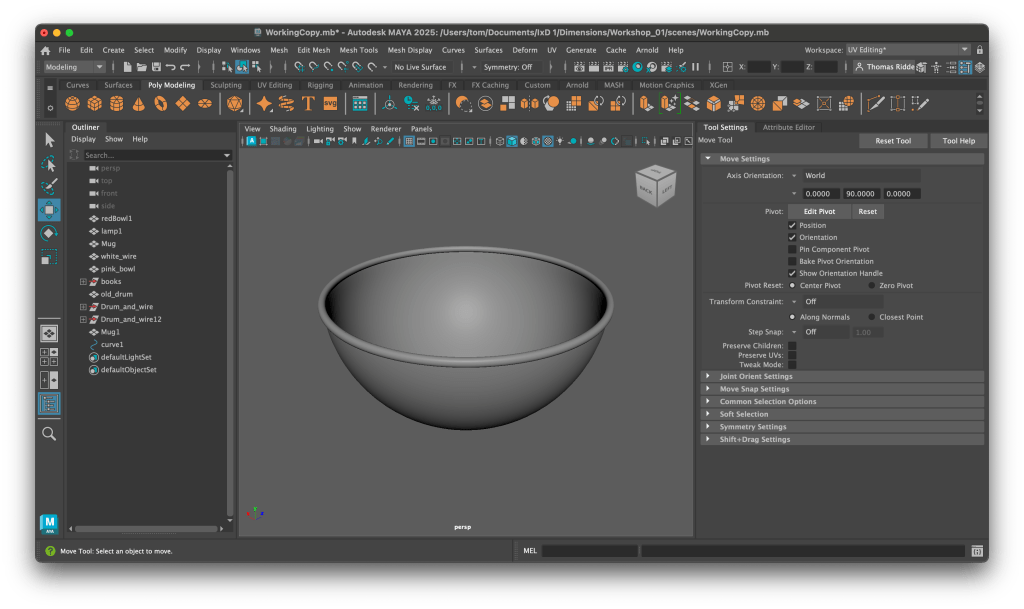
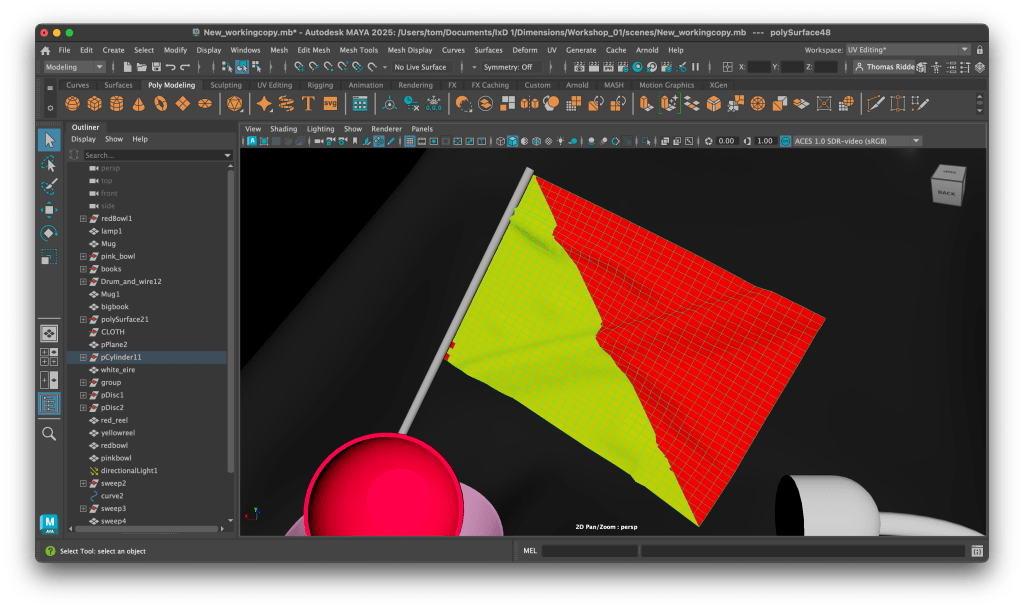
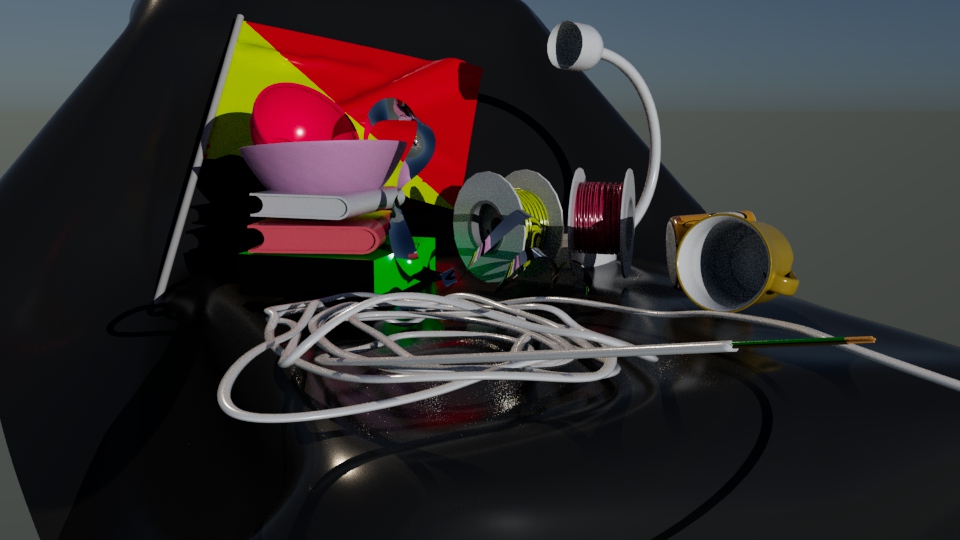
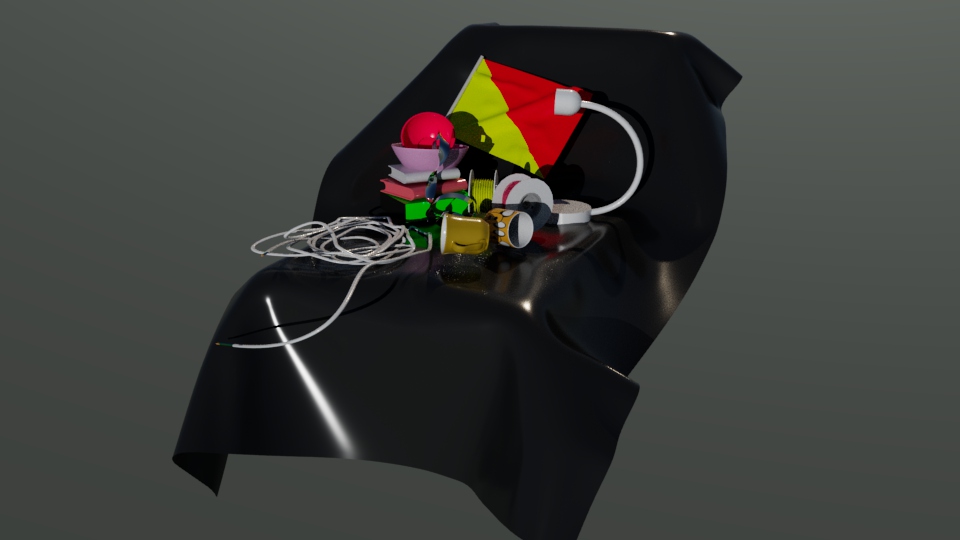
Now it was time to move onto modelling the scene which at first was laid out with a few simple objects, mugs, cables, etc. However after a few hours it was decided that this was not enough… I disagree. The flag was added as well as the silver tape and mugs were changed.
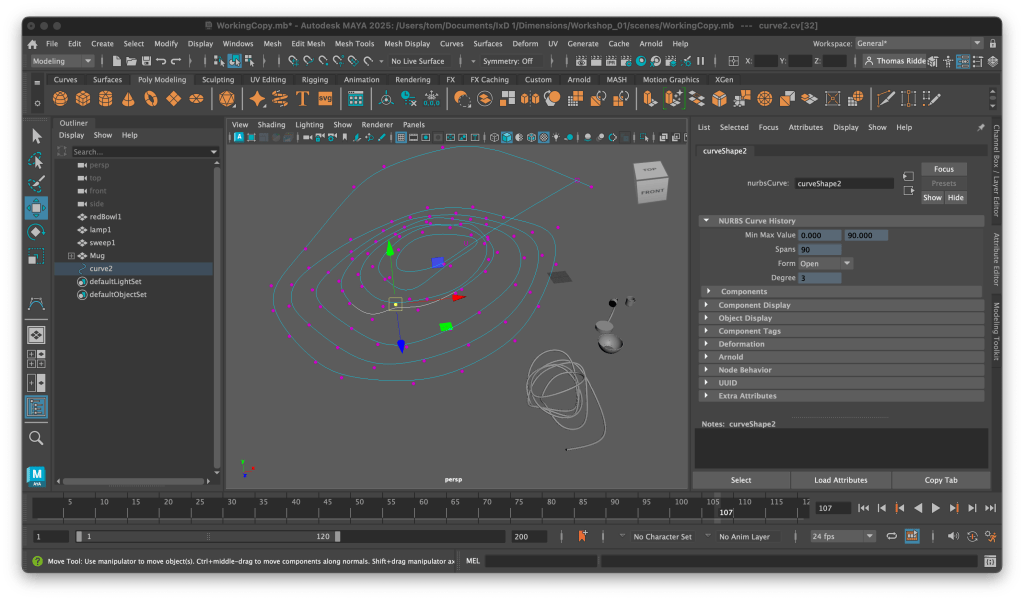
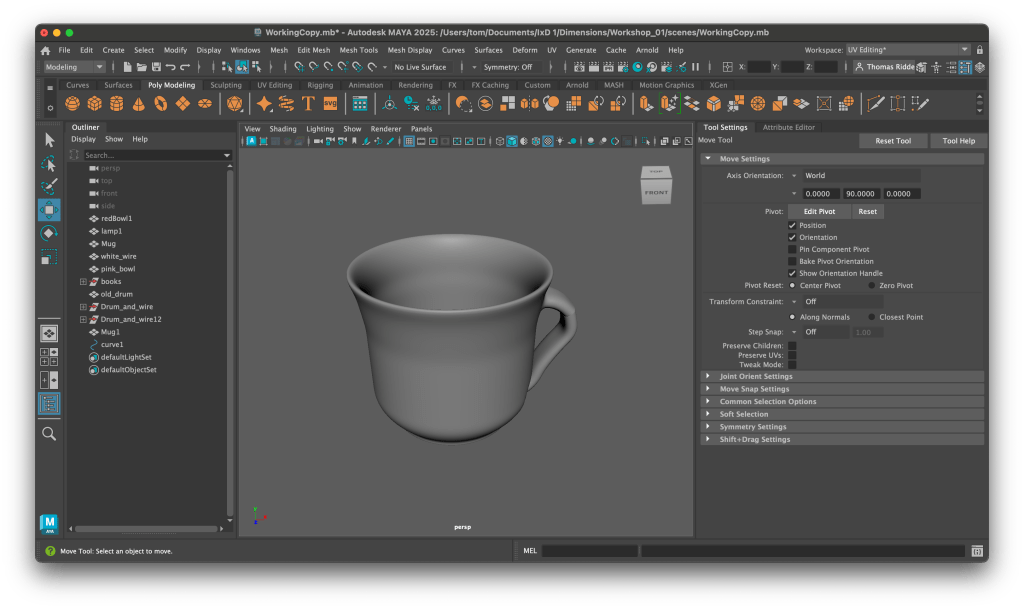
I started with a mug, thinking it wasn’t the easiest object on the table but also not the hardest so a good point to really push myself without loosing the will to live to early.
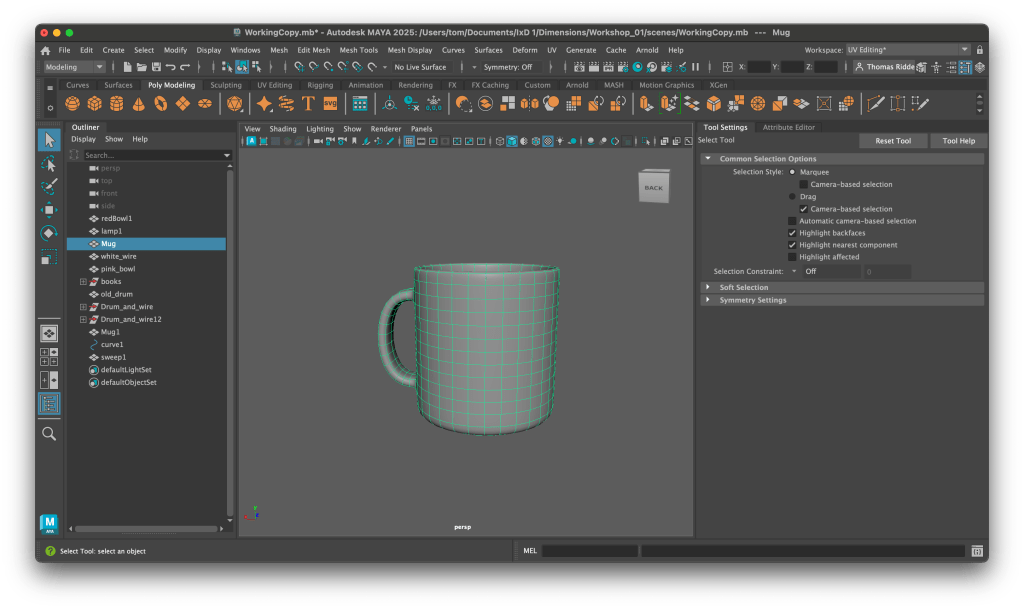
I was actually really happy with how this turned out. It took more time than I thought however I think it was worth it.
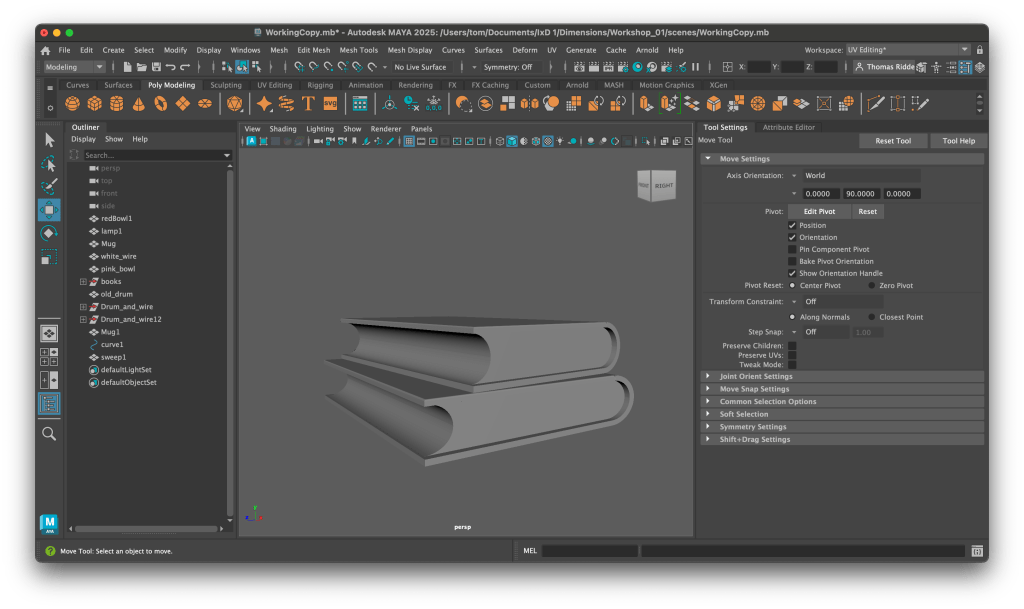
Next I moved onto the books, mainly because I was sitting next to Amelie who had already done them and she was able to very kindly help out.
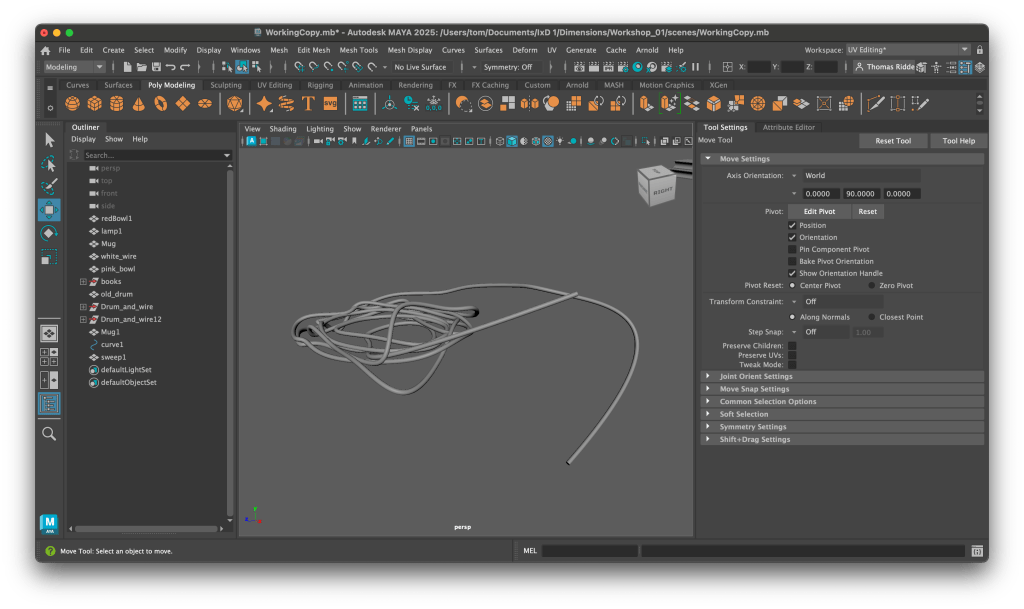
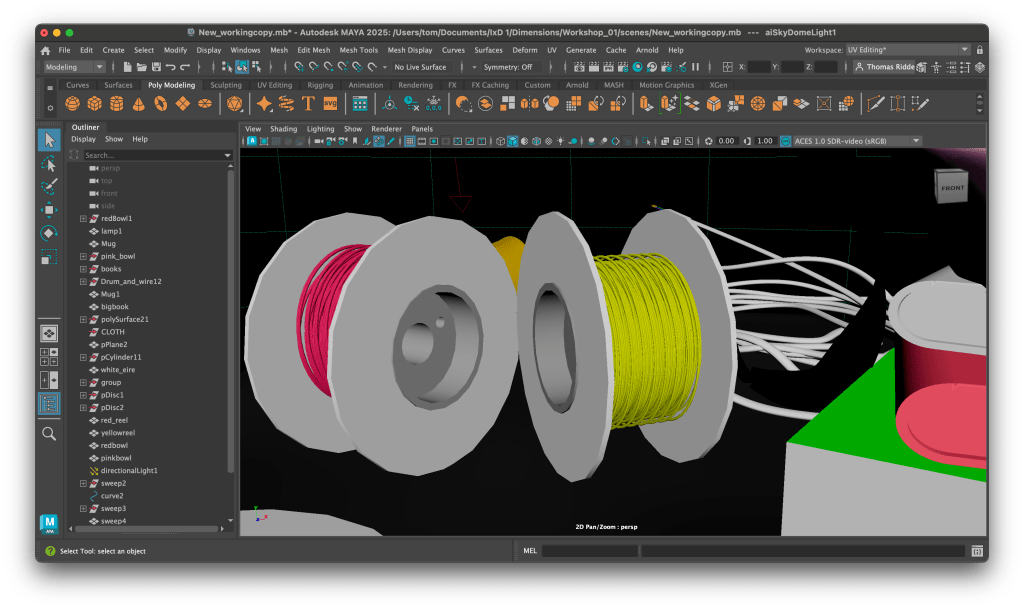
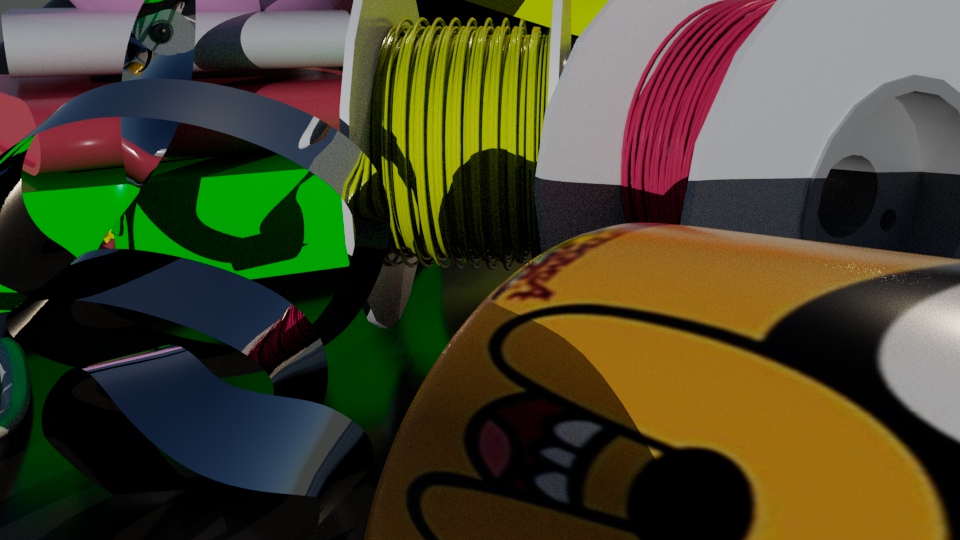
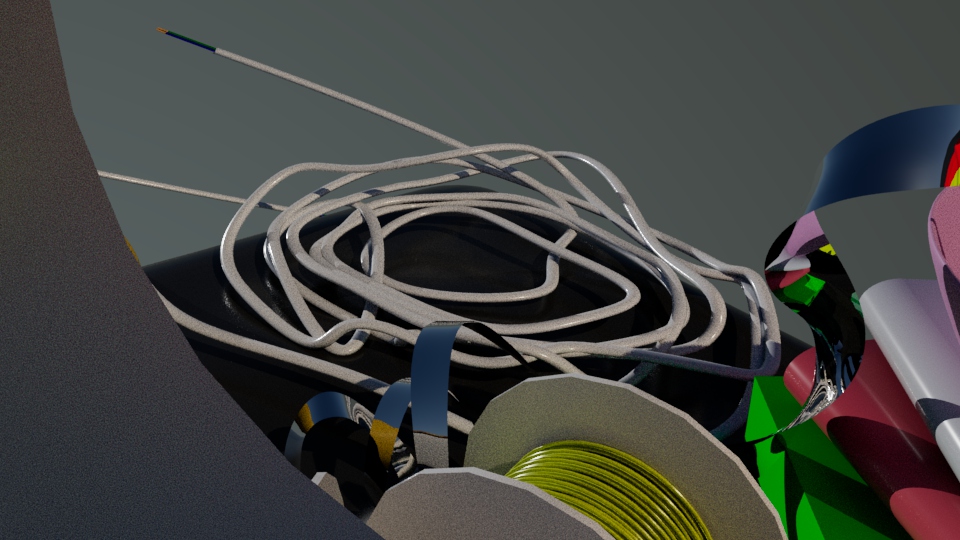
Once I started to get grips with the basic modelling things really starting to fall into place next the cable drums and 3 core cable.
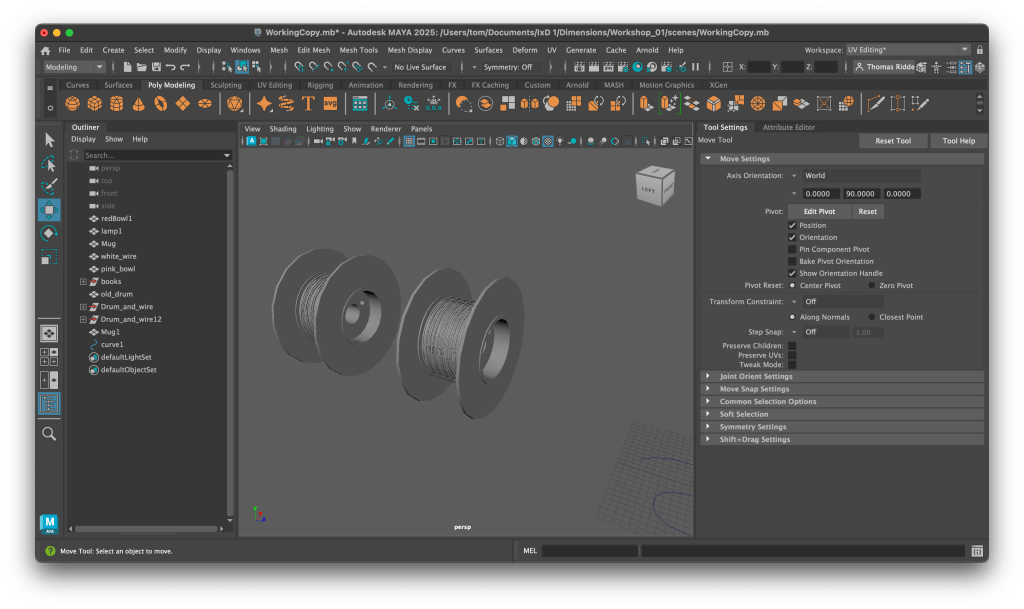
You can see that my cable drums came along a lot as the first model I made came out rather rough and basic…

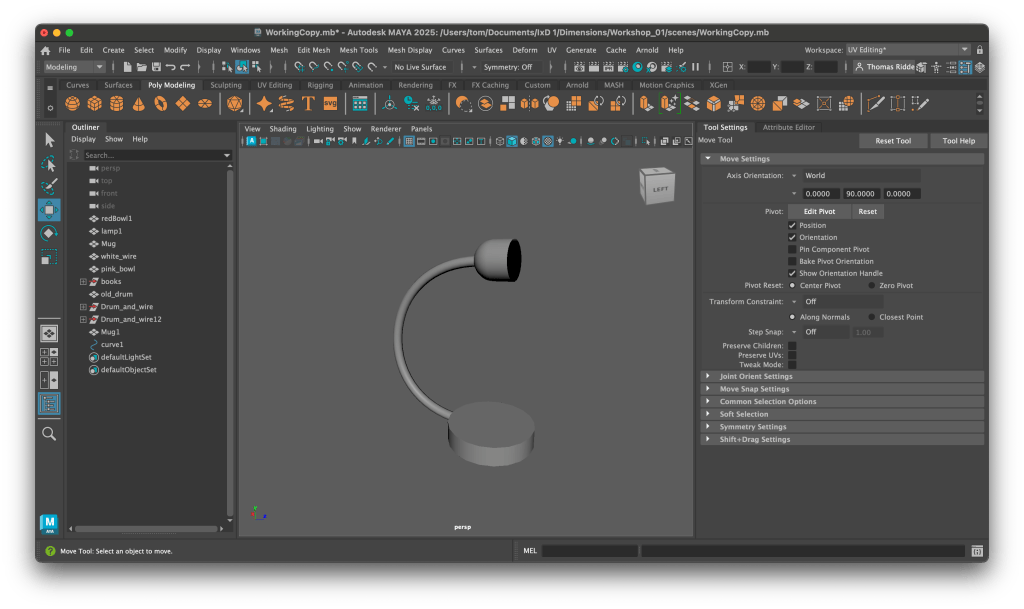
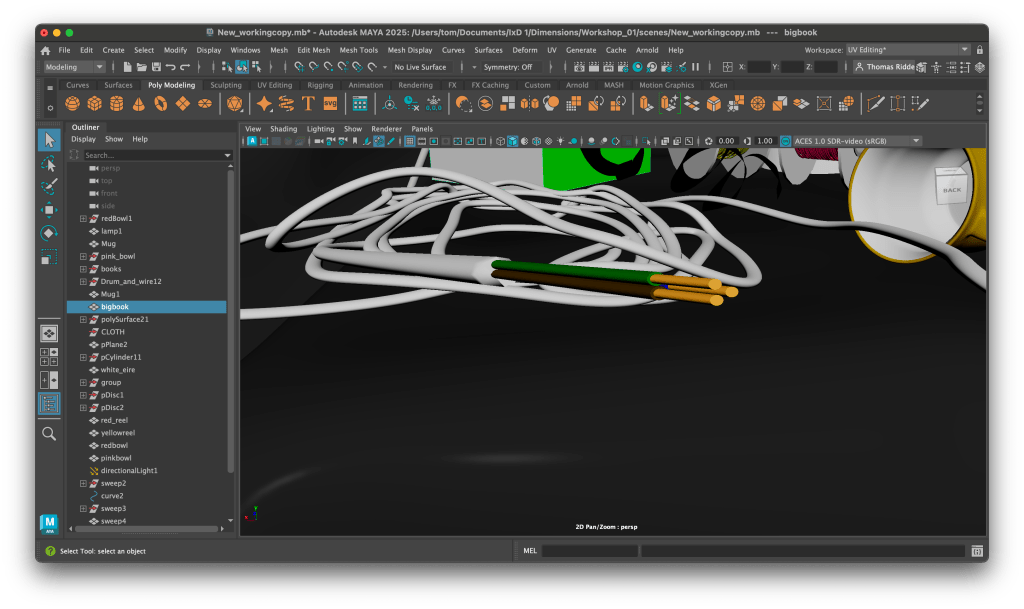
Heres a few screenshots of the rest of my models I had…

Once I had everything modelled it was time to texture. Unfortunately I missed the workshop on texturing but I tried my best to catch up from people in the studio and tutorials online however this really was the most difficult part of the project.
Where I could I just used colour instead of UV mapping, this worked for some of the objeccts
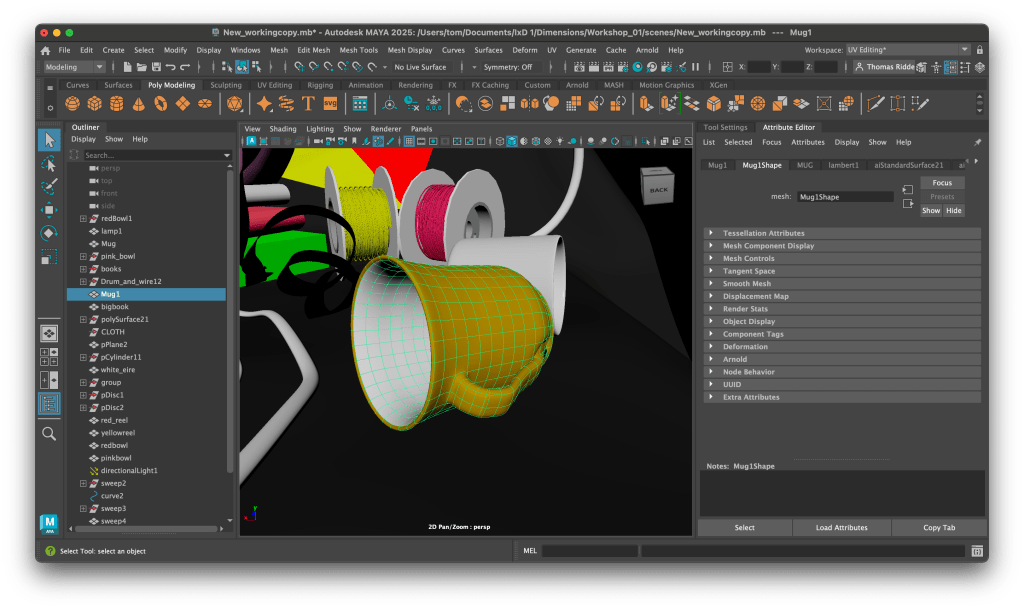
It just proved to be too difficult to UV map and I was already running out of time so with little I had left I made sure I had everything scaled as best I could and laid out as realistically as possible. I was important to me that I made it as true to life as possible with my limited capabilities by this point.
I did finally managed to just about UV map one of the mugs using an image of the mug I found online
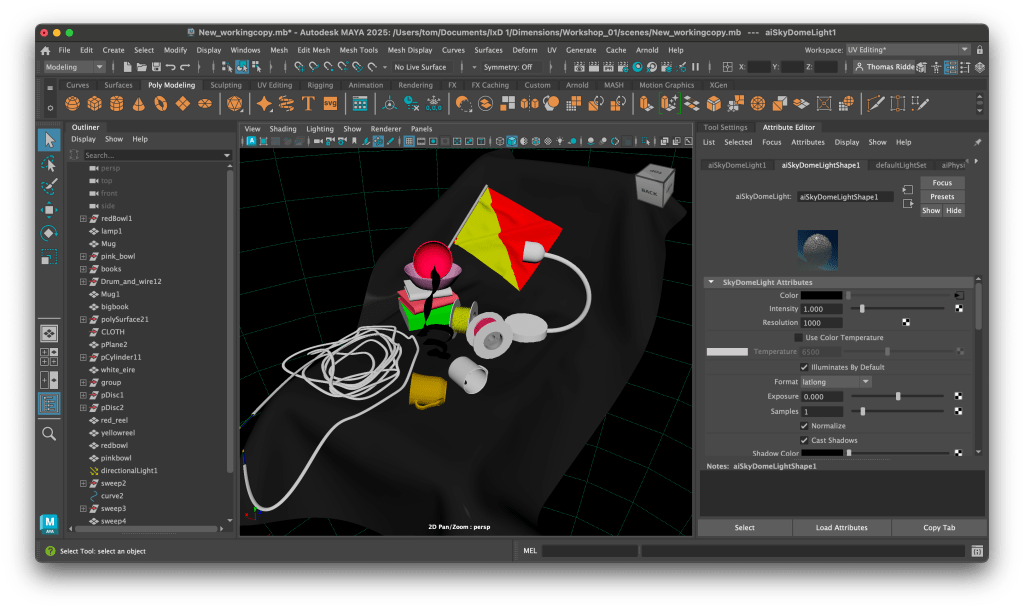
Once I added the lighting and messed about with some of the final placement I took my final rendered shots. Here I also wanted to utilise the workspace as best as possible to take shots that you wouldn’t get in person. Essentially I wanted to make the most of the way you can move in 3D and in Maya to give perspectives that would be otherwise impossible.
Wrapping UP
Over all I am just very glad this project is over, even if I started to enjoy the modelling!
What I found interesting about working on this was how the more comfortable and proficient I became with maya actually the more frustrating it could become. This was because as my skills developed I kept returning objects I had already modelled to improve them and I would get stuck in this cycle of trying to add more and more detail. In the future I definitely would take this into consideration for time management. As it meant that UV mapping would have been an afterthought at best.
