Going into this project, knowing that we had five weeks, I knew that whatever my output or response to the brief, I wanted to work with scale. The goal was to create something with presence whilst, equally importantly, keeping it clean. A lot of the work I have done has had a slightly unfinished aesthetic or, more often, unpolished.
Inspiration
Zimoun
I drew a lot of inspiration from Zimoun with regard to their use of scale. Each piece of their work often takes up the entirety of a large and architecturally beautiful space. But although these installations seem so huge and complex, broken down, they are just a repeating sequence of very simple – what I will call – subsystems. These subsystems usually comprise a motor and some kind of visualisation.
With this project – keeping in mind that I had 5 weeks – I was really intent on making use of scale. However, of course, there are physical limitations to how much space we have or what spaces we can use for review, etc. This is where I tried to balance the two main aspects of Zimoun’s work, I thought if I was forced to reduce the number of subsystems (motors in this case), I would increase thier complexity / control.
This is how I really dug down and nailed the core concept of my work from a viusal output stance.
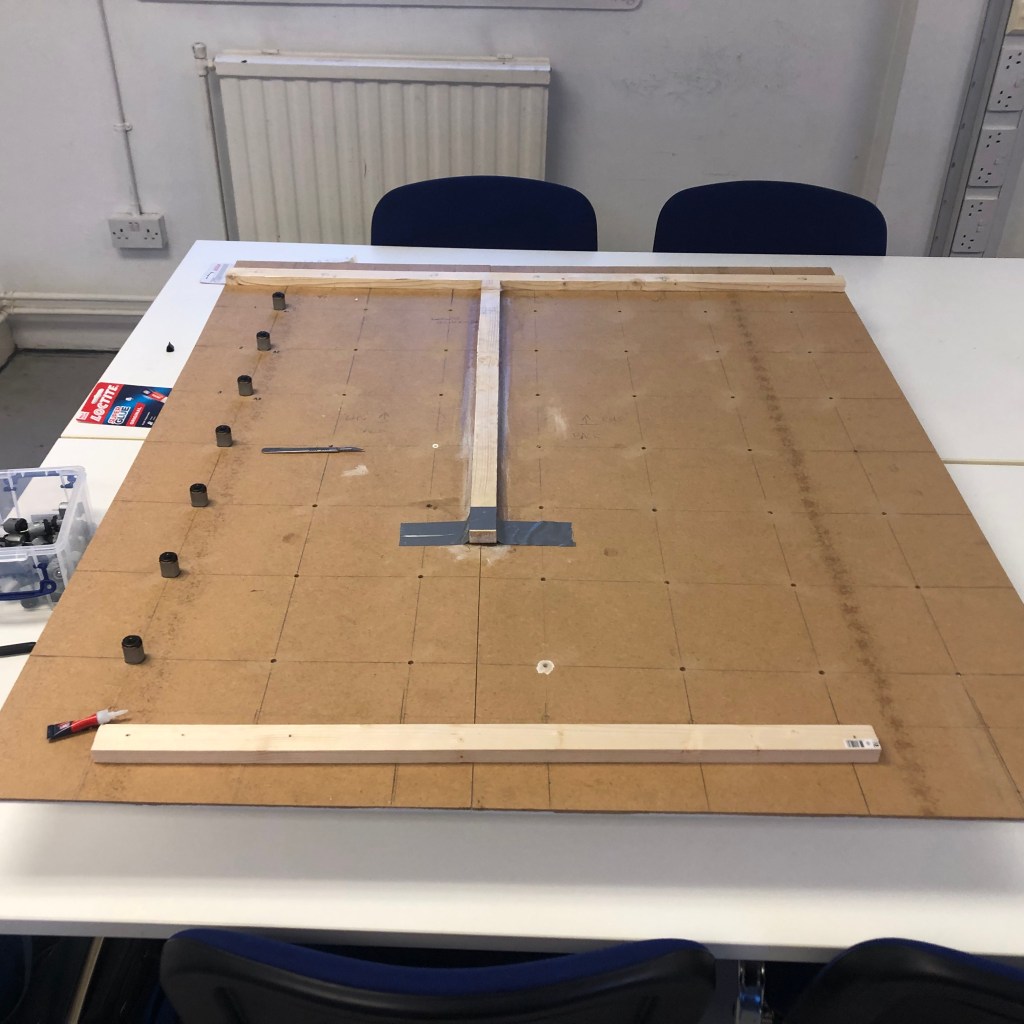
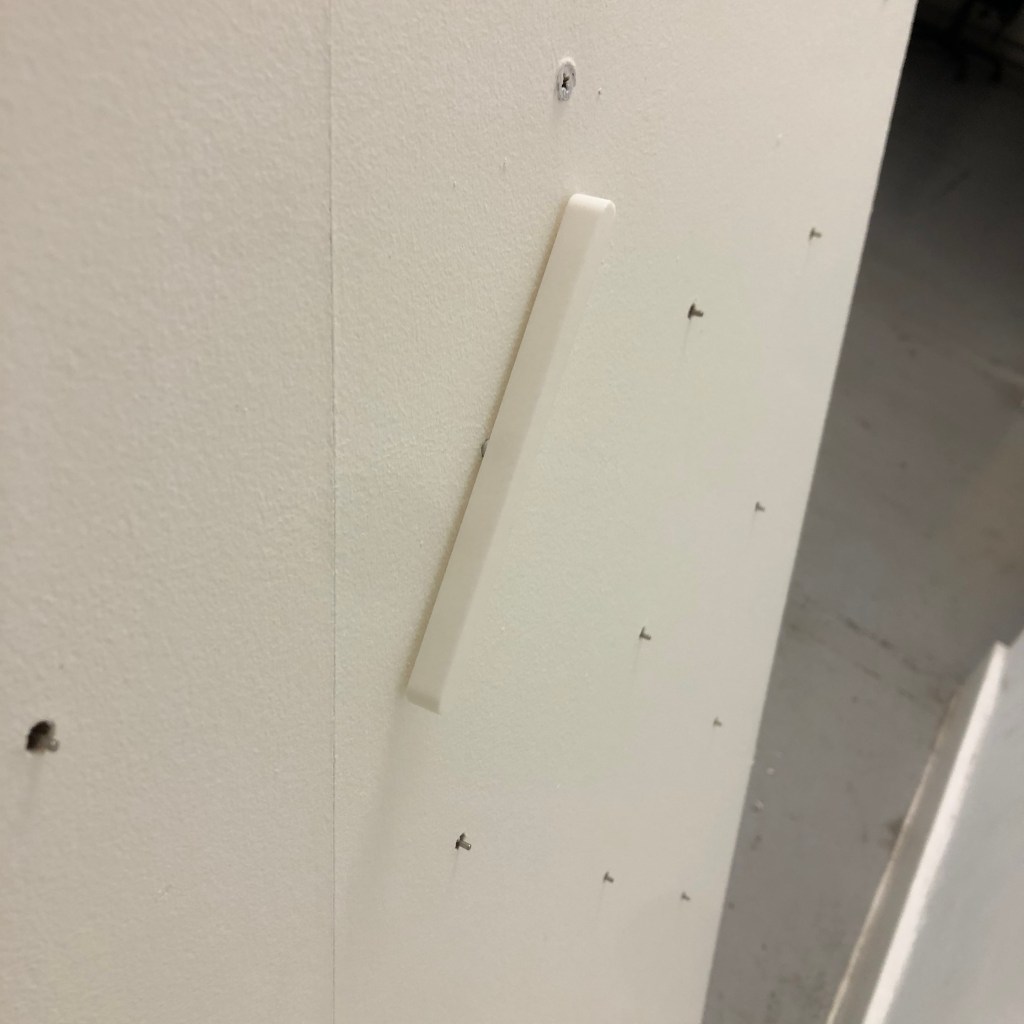
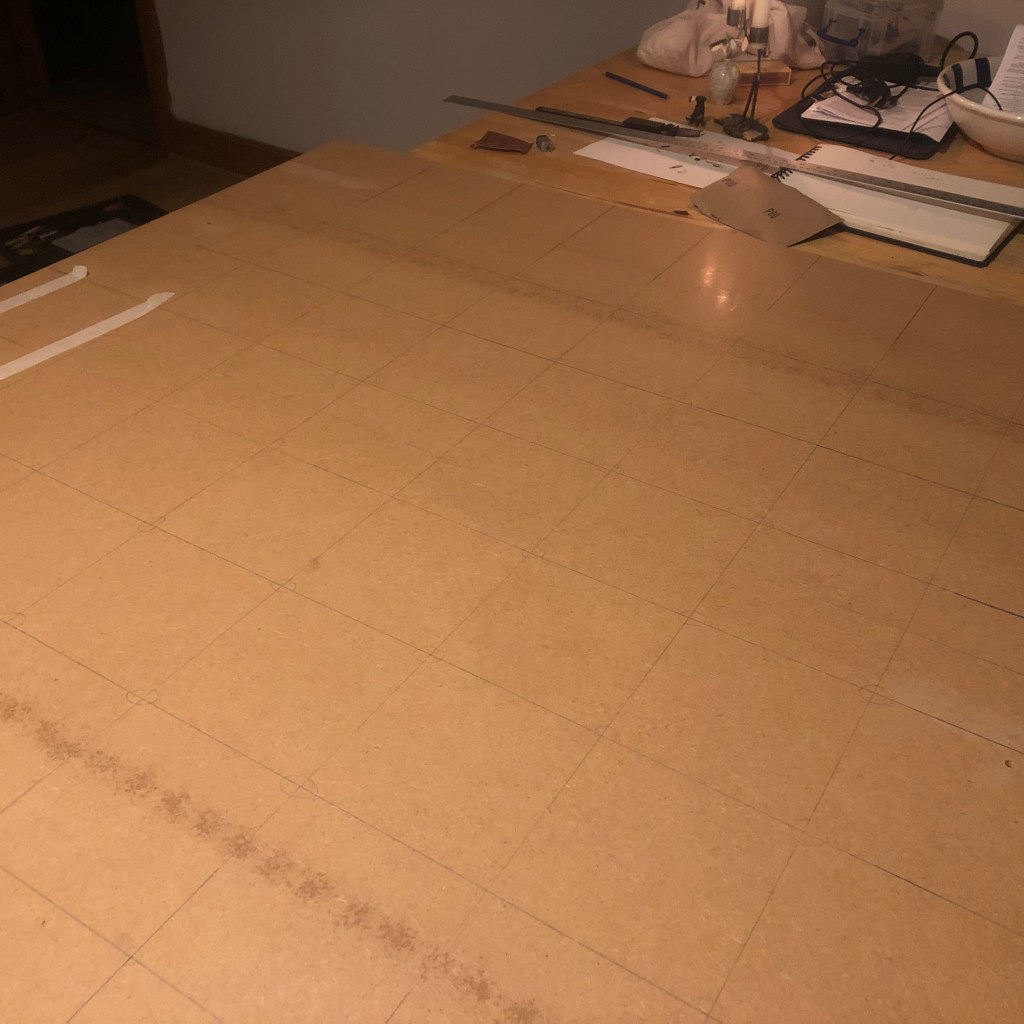
I started with a trip to B&Q for a couple of 5mm MDF boards. Unfortunalty I was limited by the size that they sell, so it meant that for a square board, I was going to have to cut and shut two boards. I began in the flat in the living room; however, with many other projects going on in the flat, the footprint of the work took up about as much floor space as I had to begin with. So iI decided to suprise my mum and take the piece home to work on it there.;
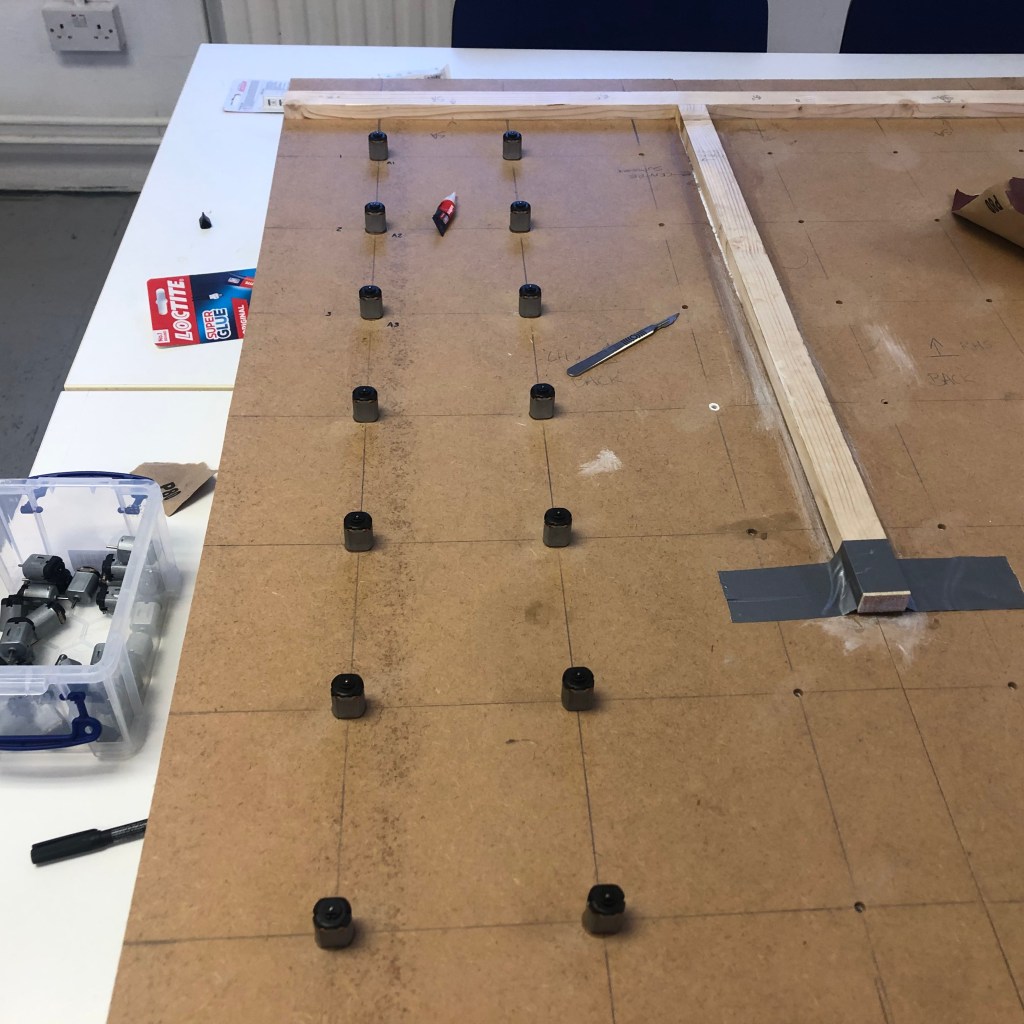
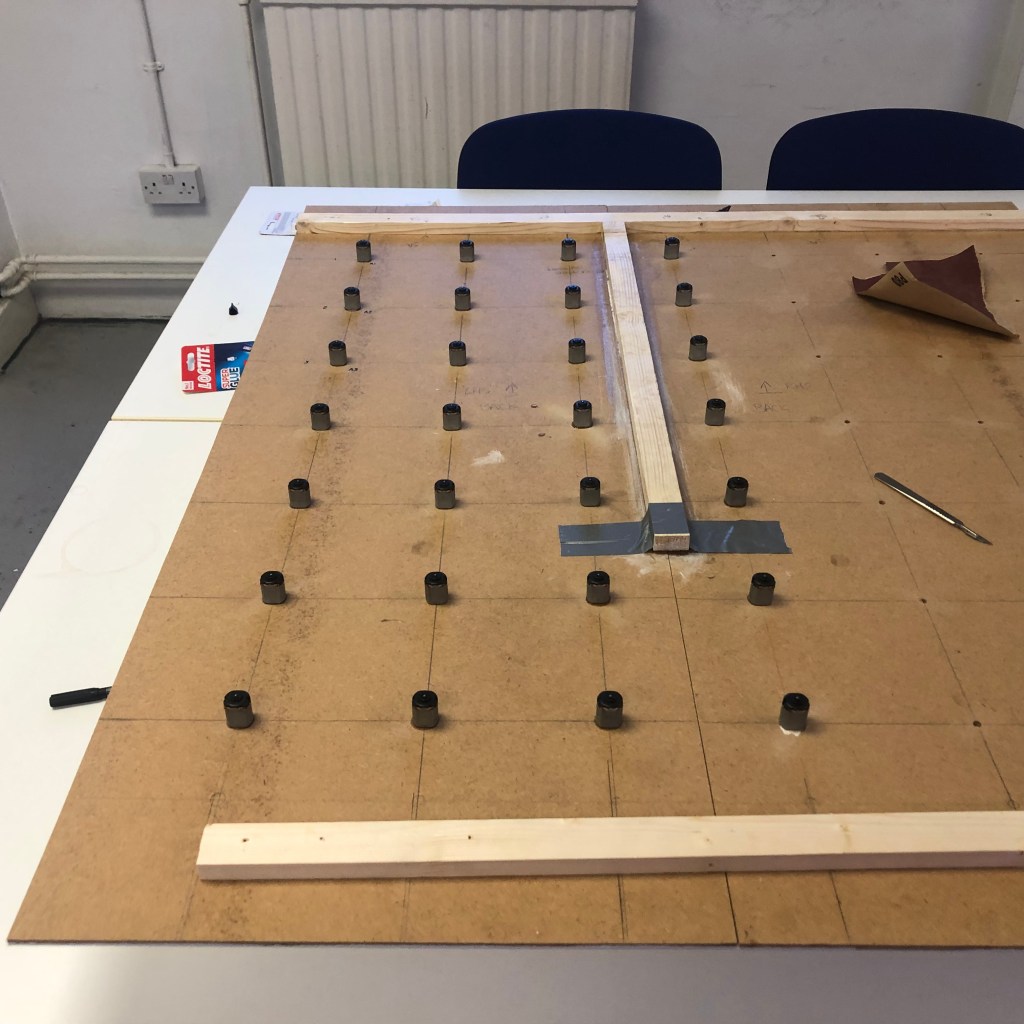
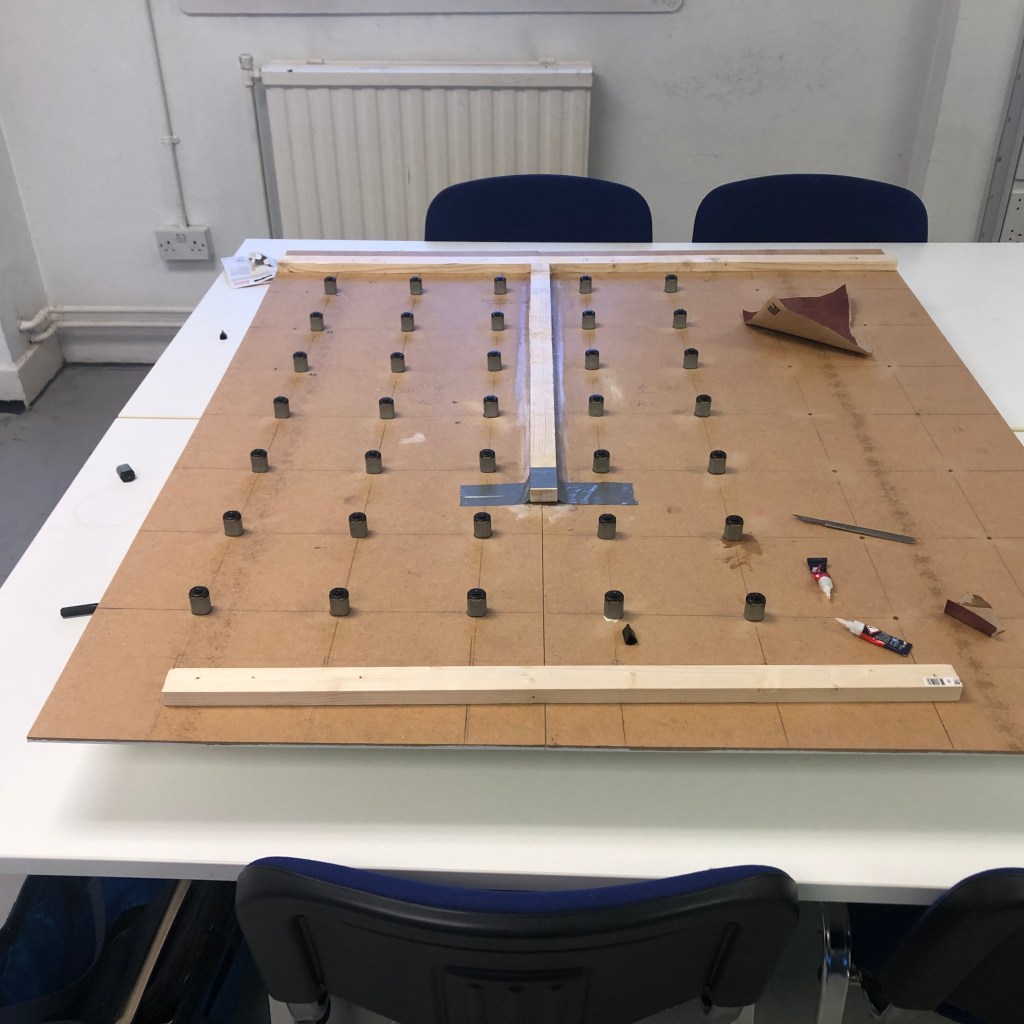
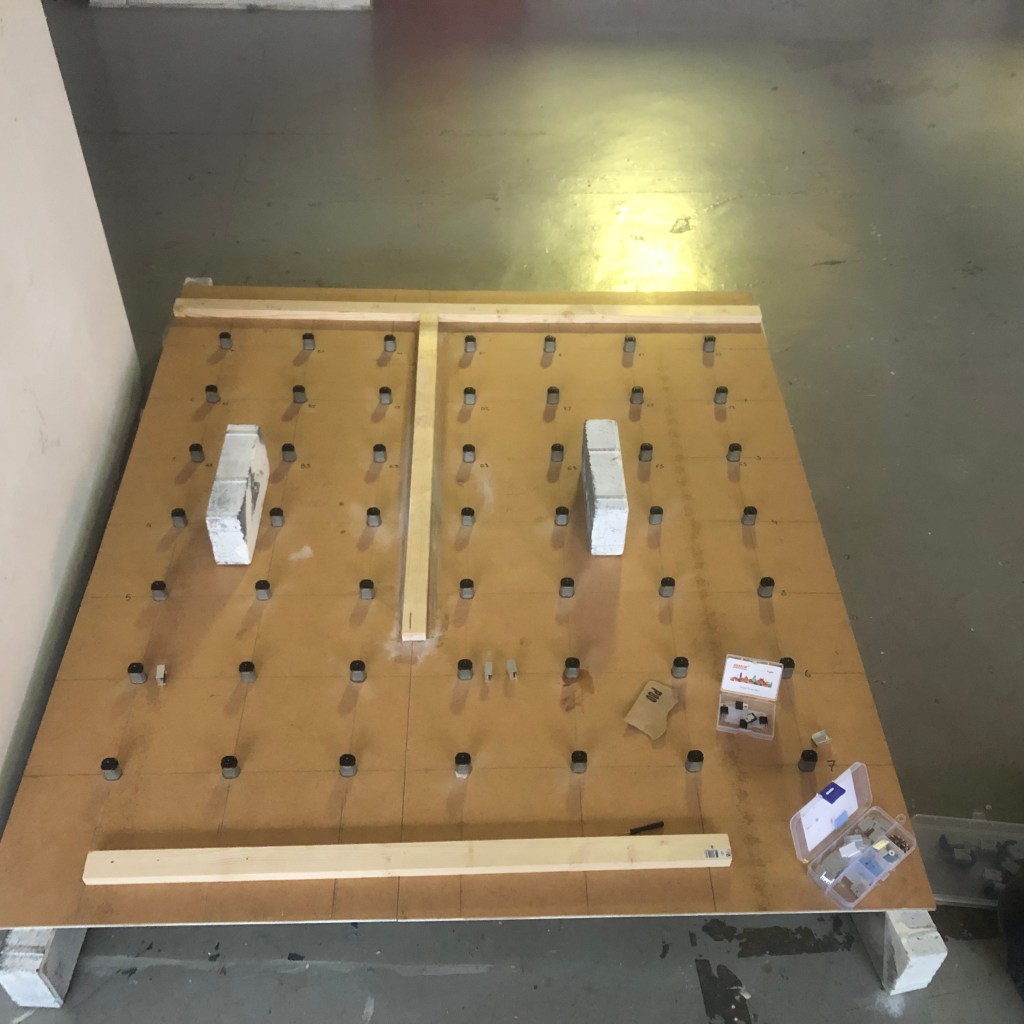
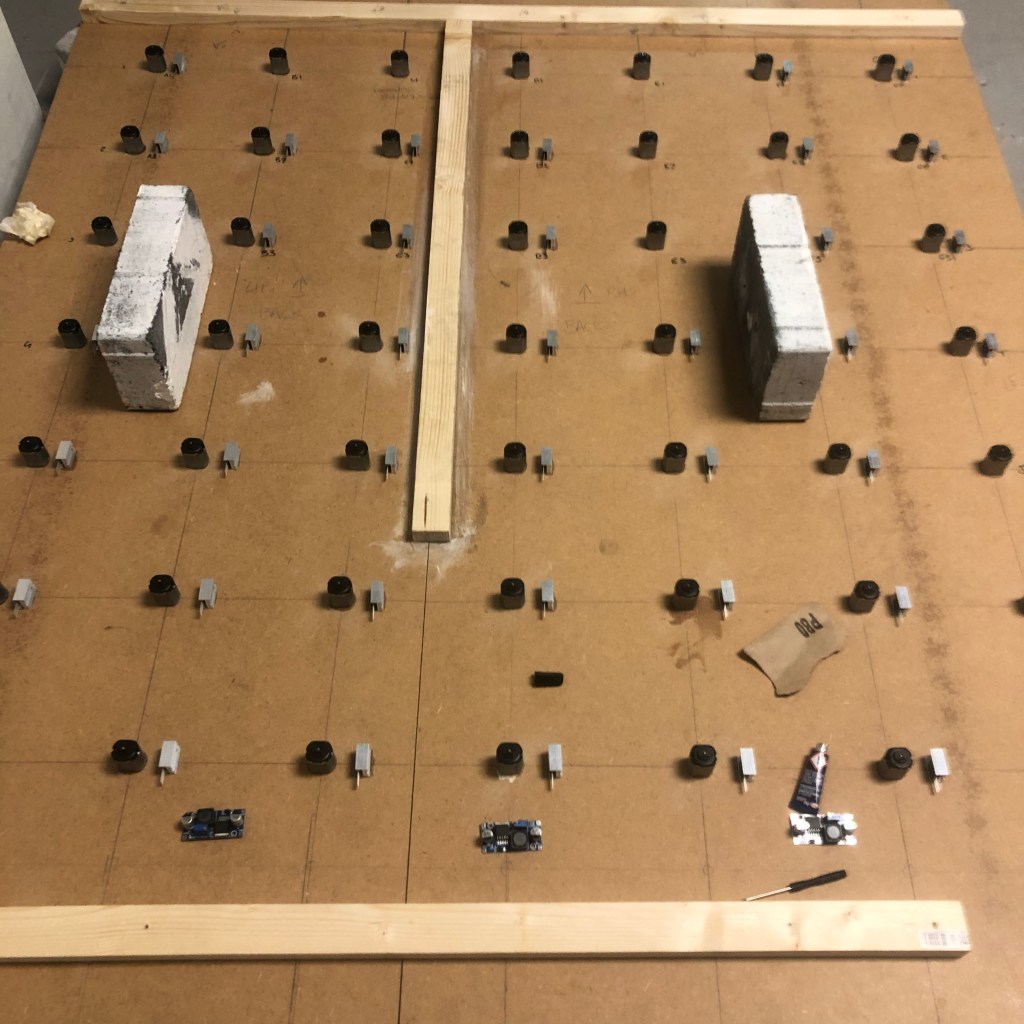
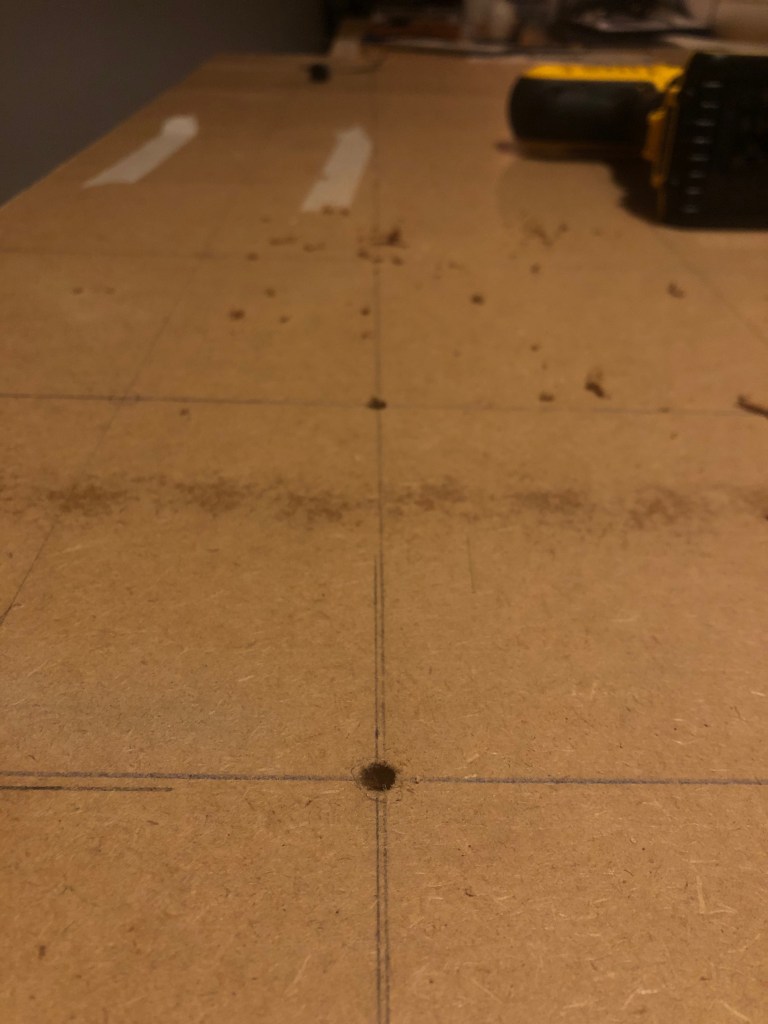
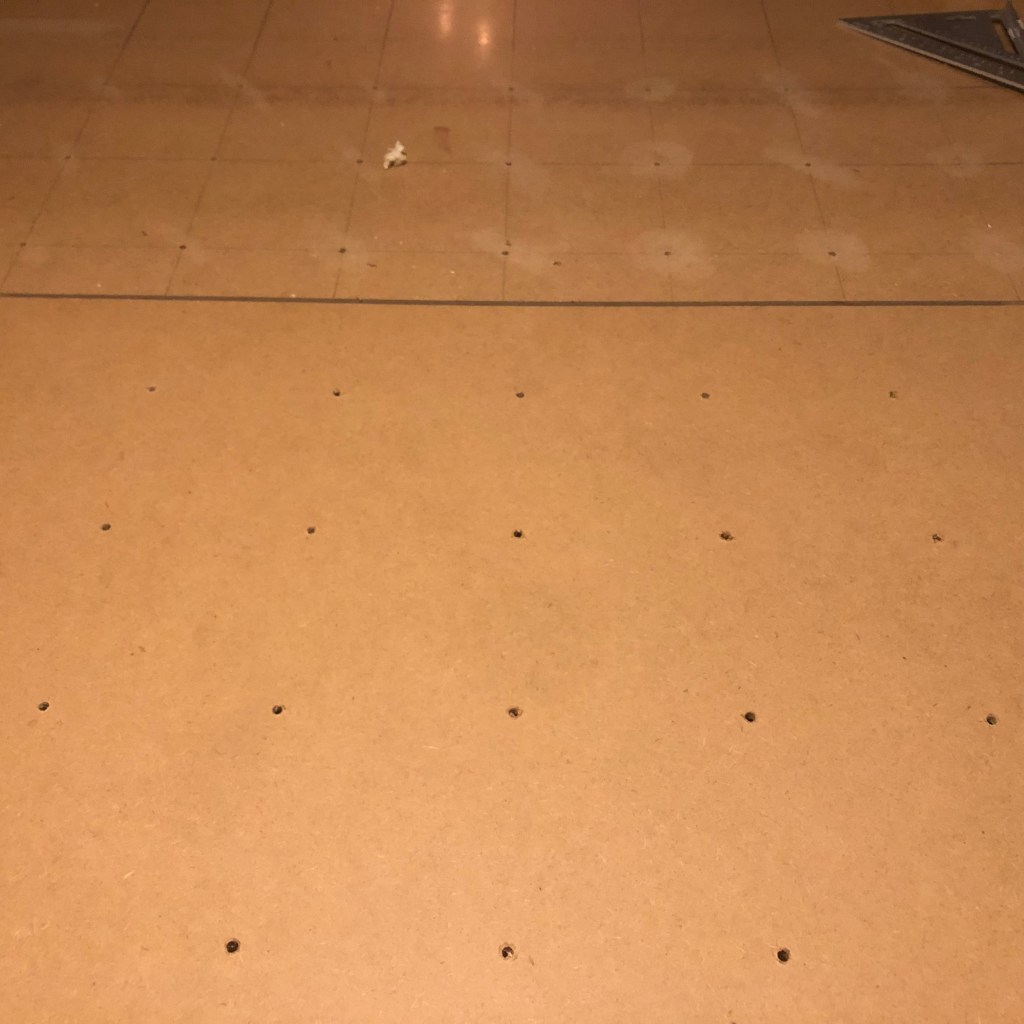
Below you can see that now at the kitchen table it is much easier to work. So it was time to mark out the grid ready to drill. I really needed this to be perfect, so I spent a few hours on it. Looking back I could have made some kind of marking jig that would have ensured that everything was square, but I got there eventually.
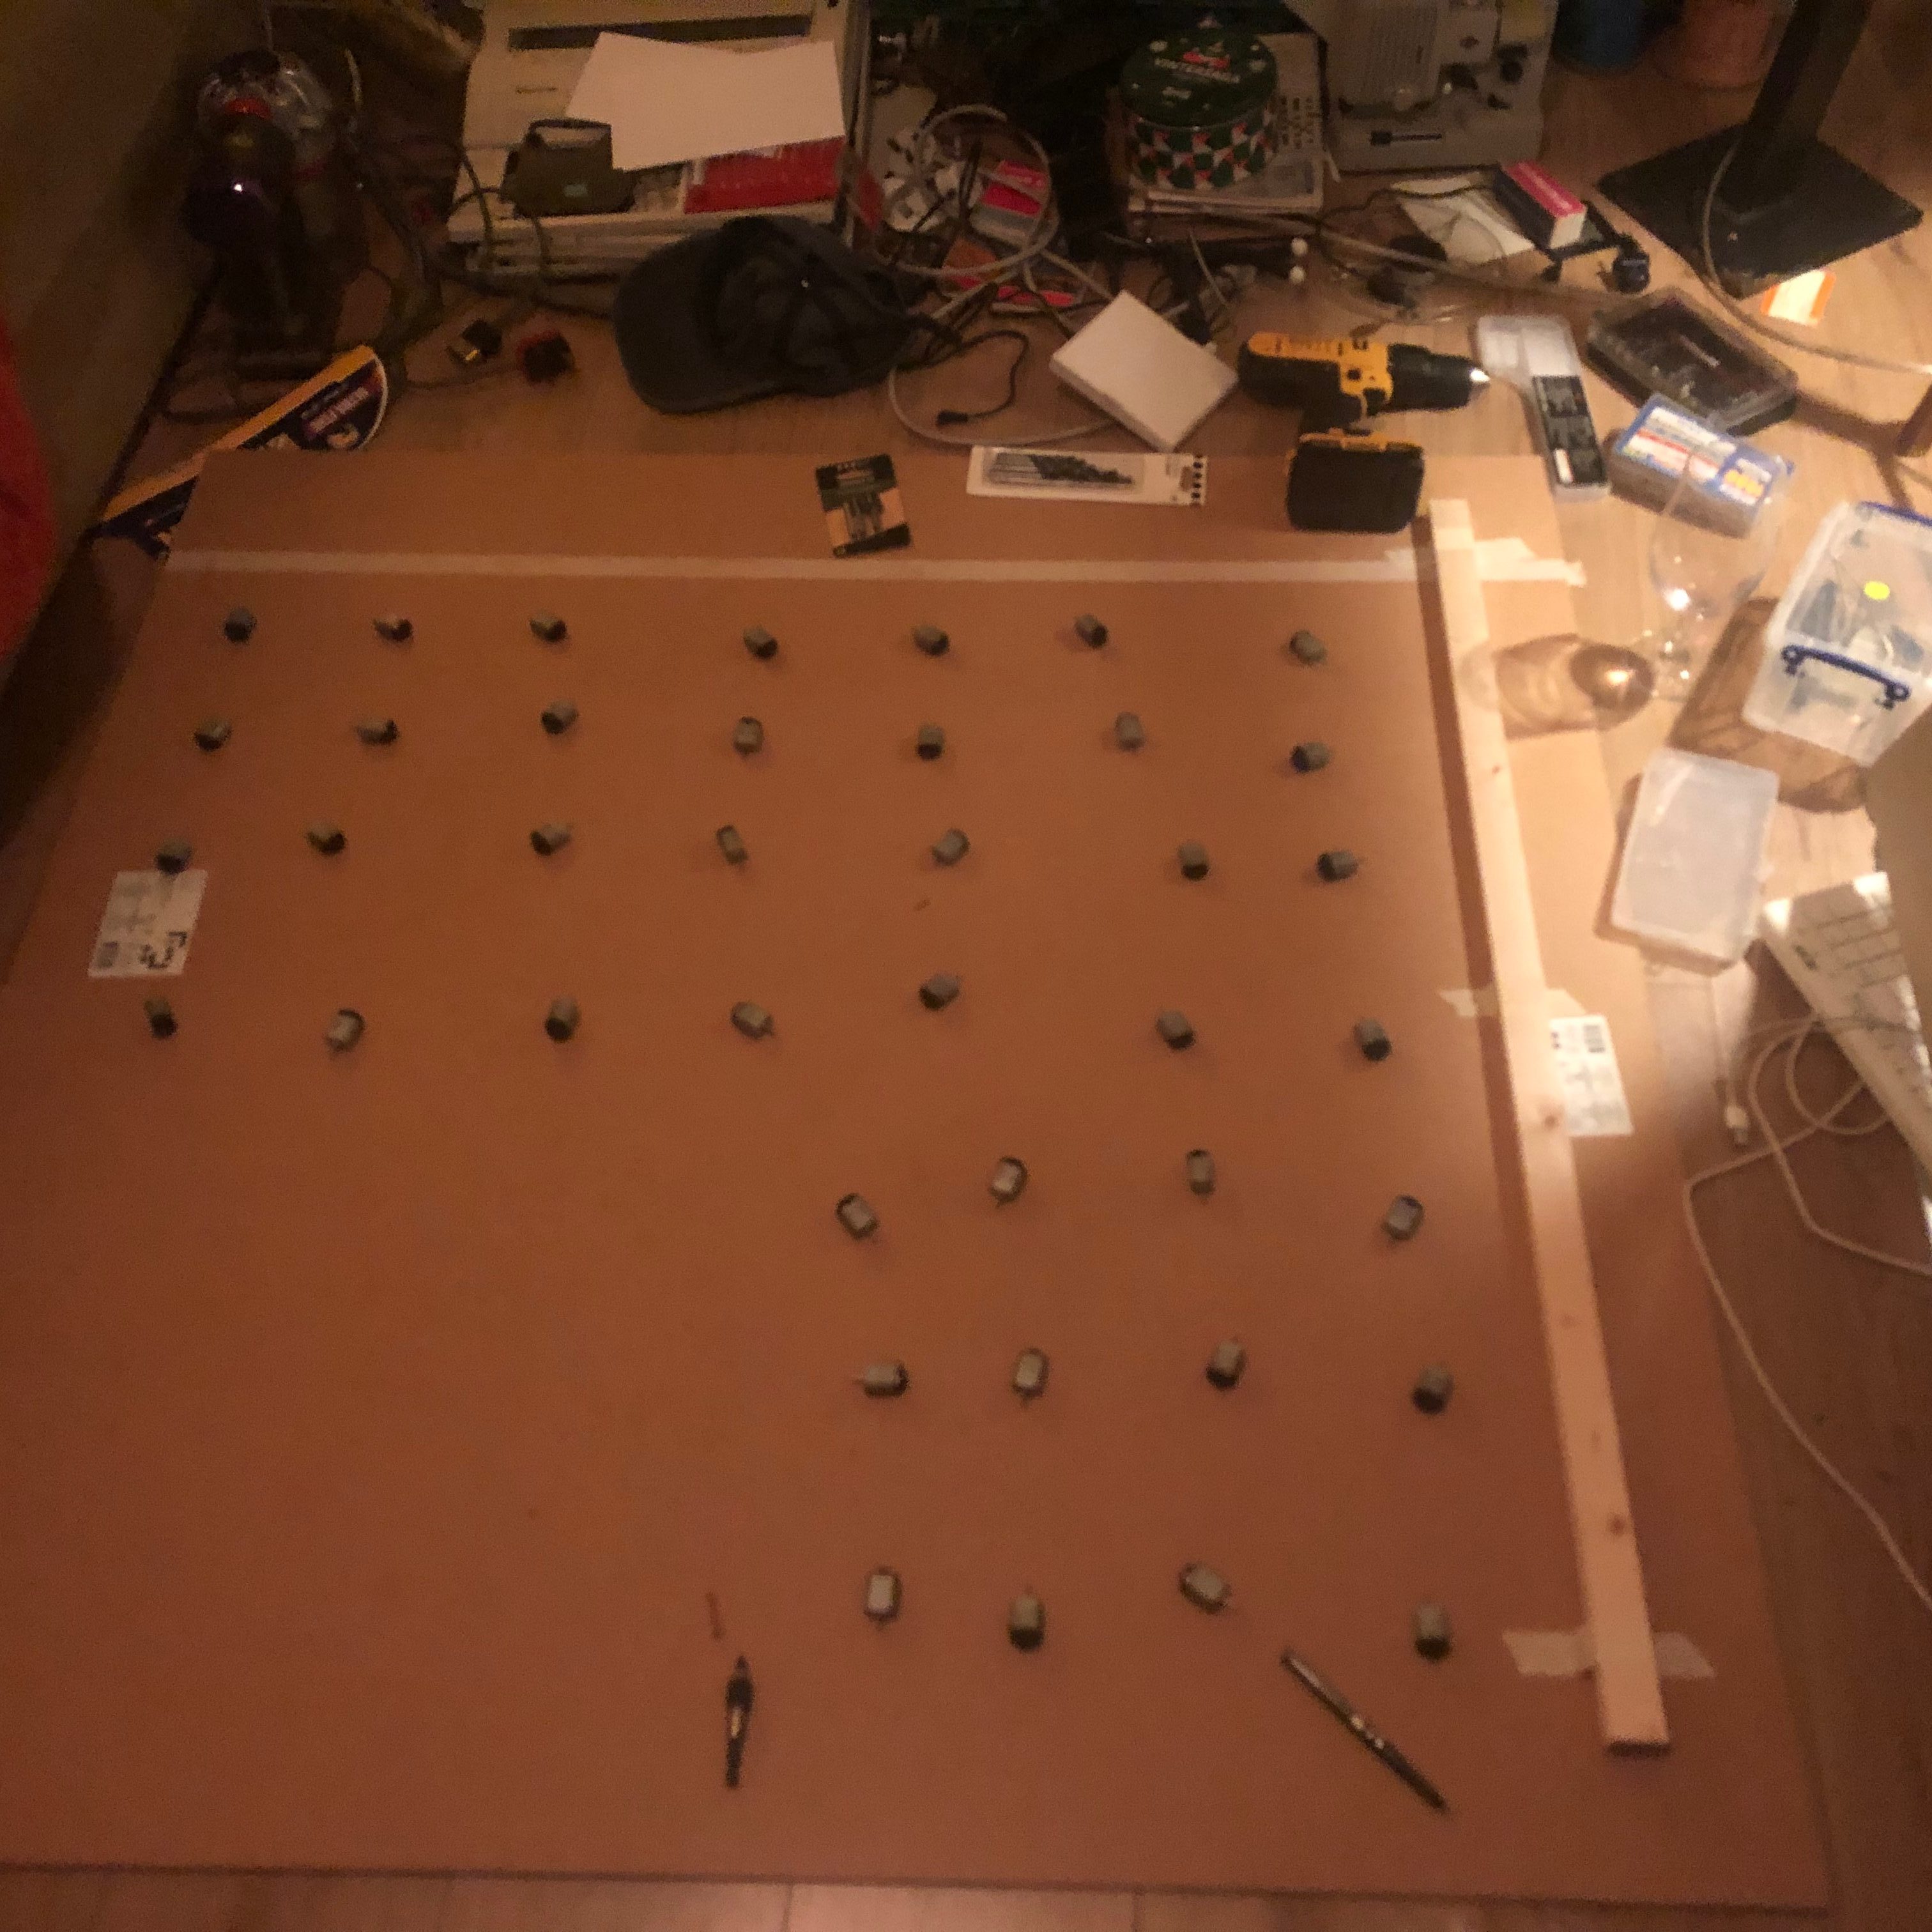
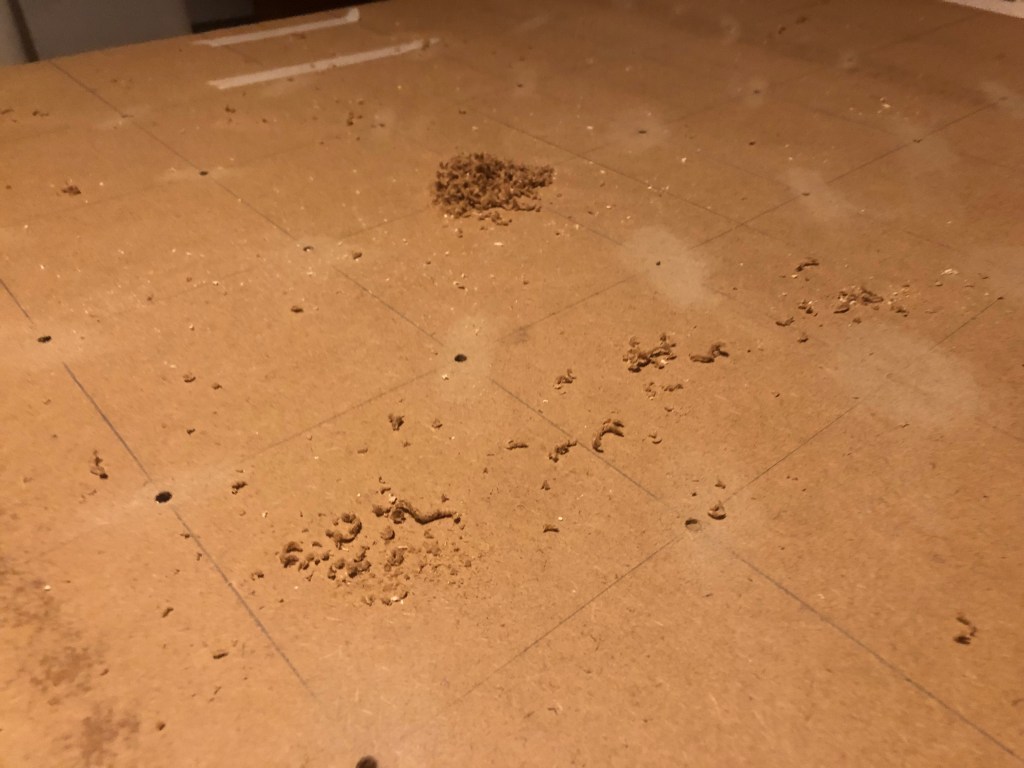
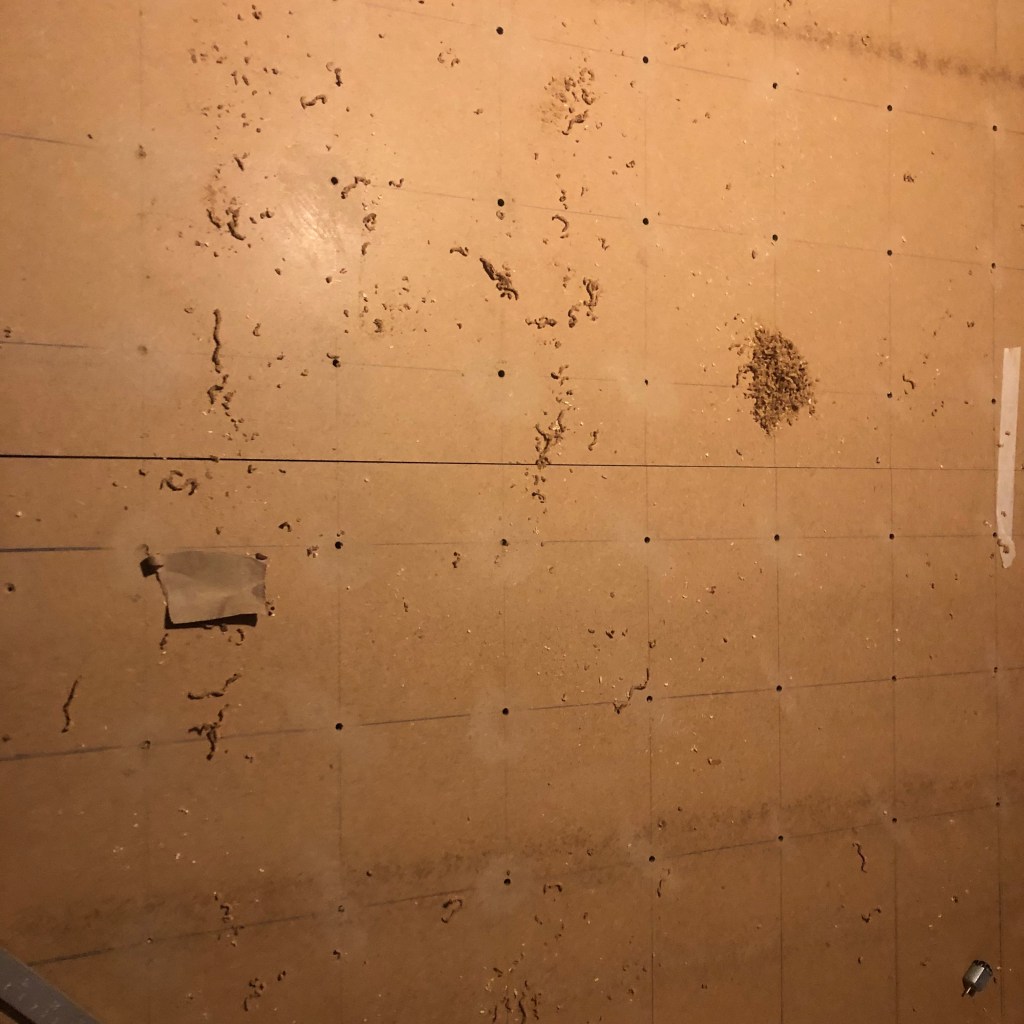
And then the point of absolute no return came, it was time to drill… 49 measured, drilled, sanded.
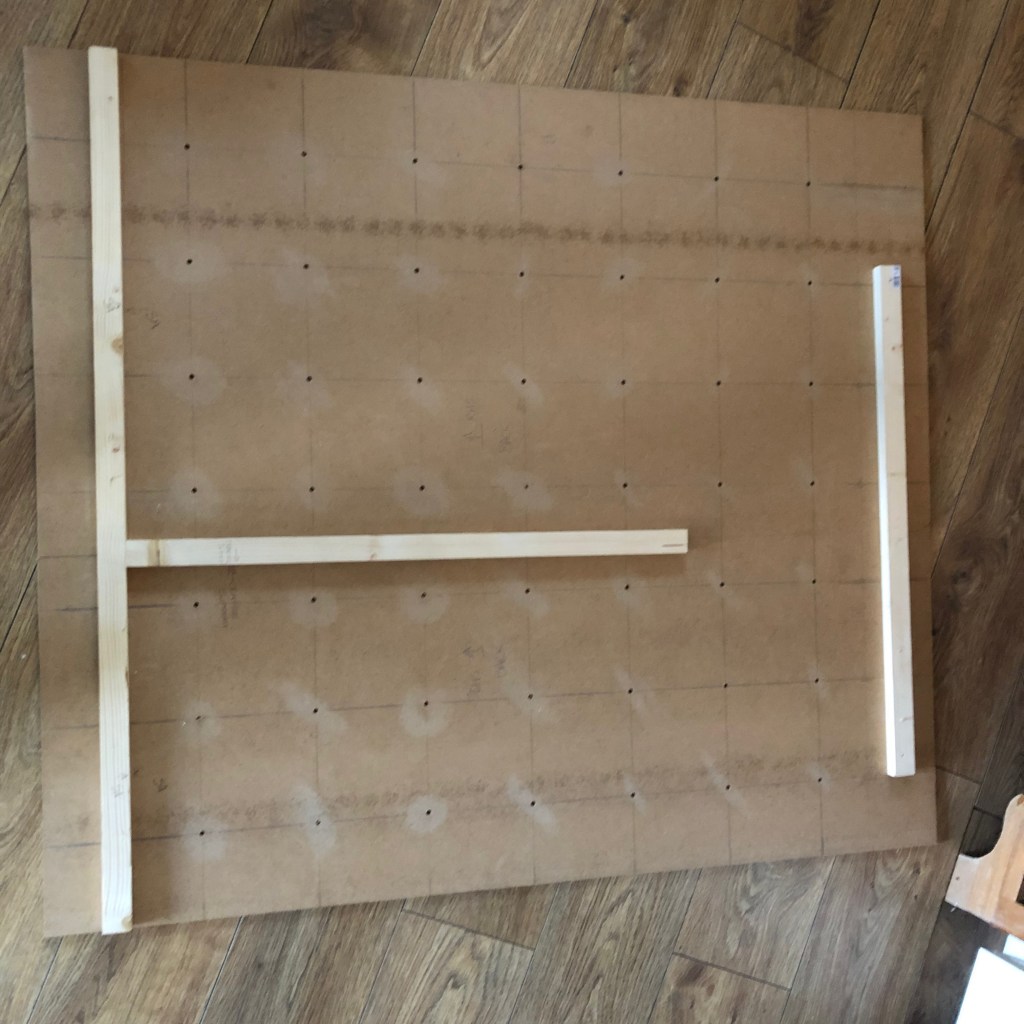
Now was the time to consider the support for the back side that will connect the two pieces and also give me something to hang the entire piece from.
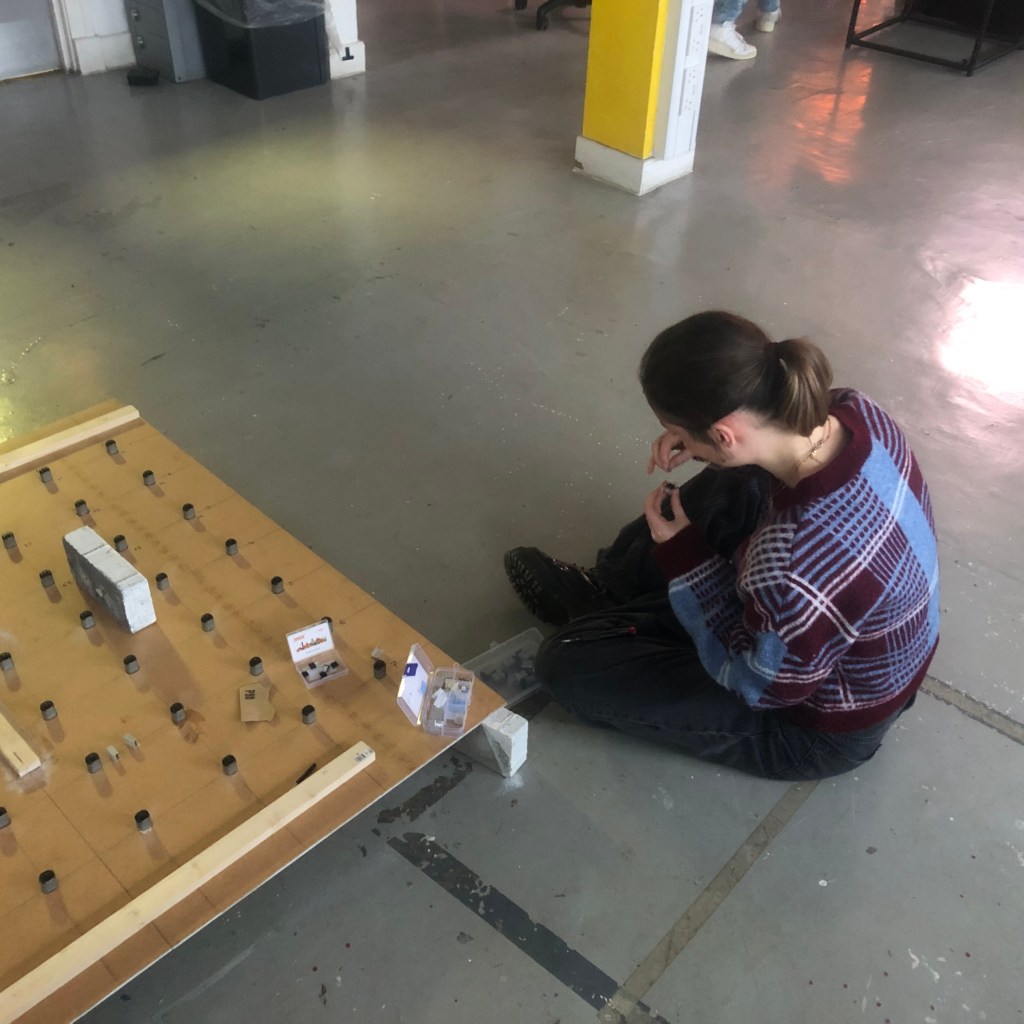
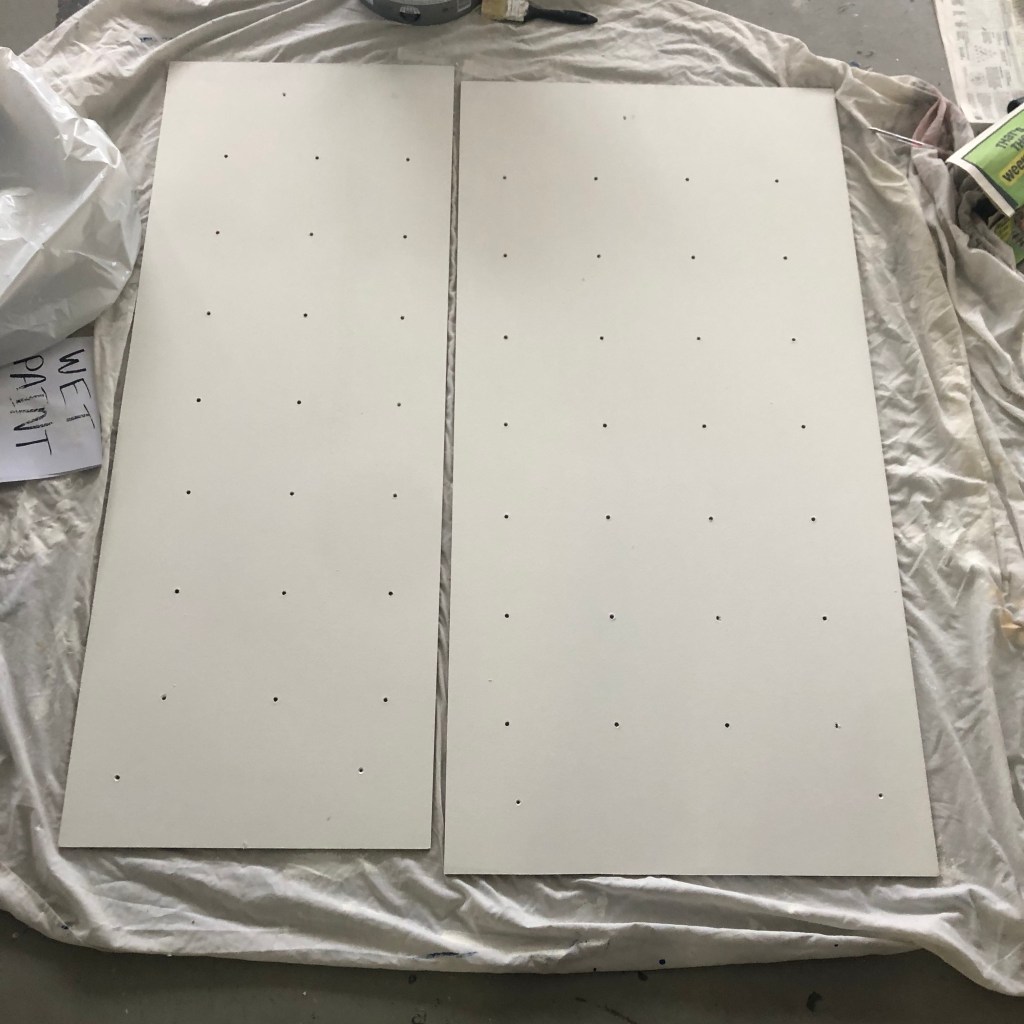
Now back in Glasgow, and in the studio, it was time to paint. This is probably the stage that, if I were to do this again, I would take even more care. Although I did really take my time, the board from here on out was going to go through the wars to get it all wired up and considering some sort of seal or how I could paint once the motors are back on would have been a good idea.
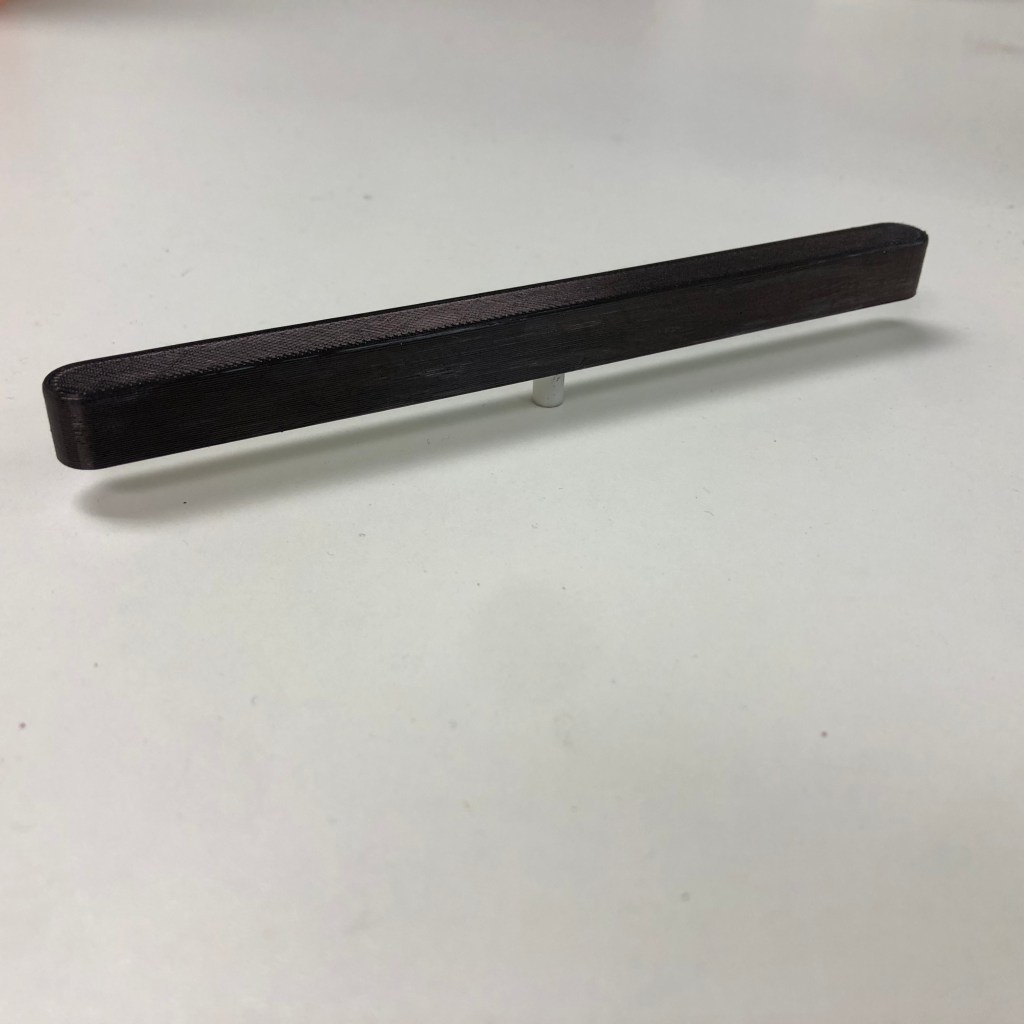
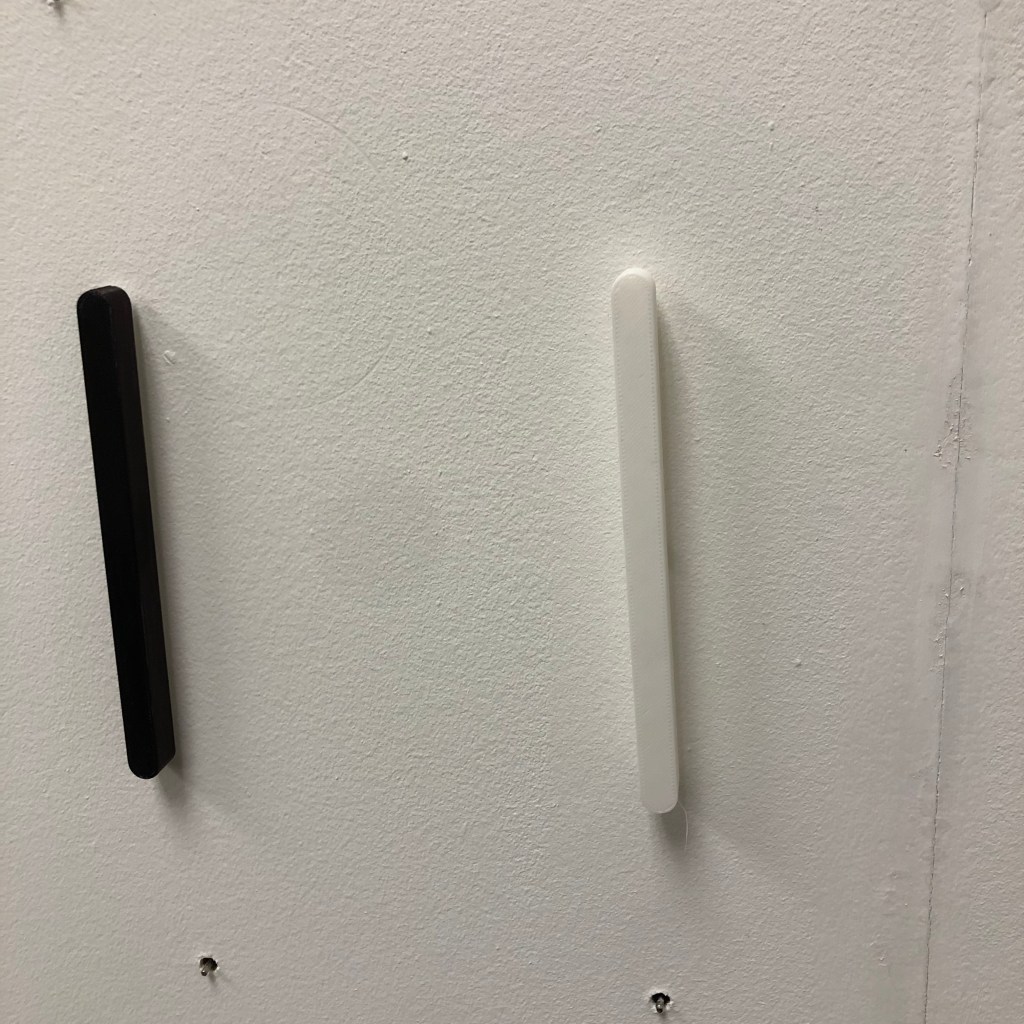
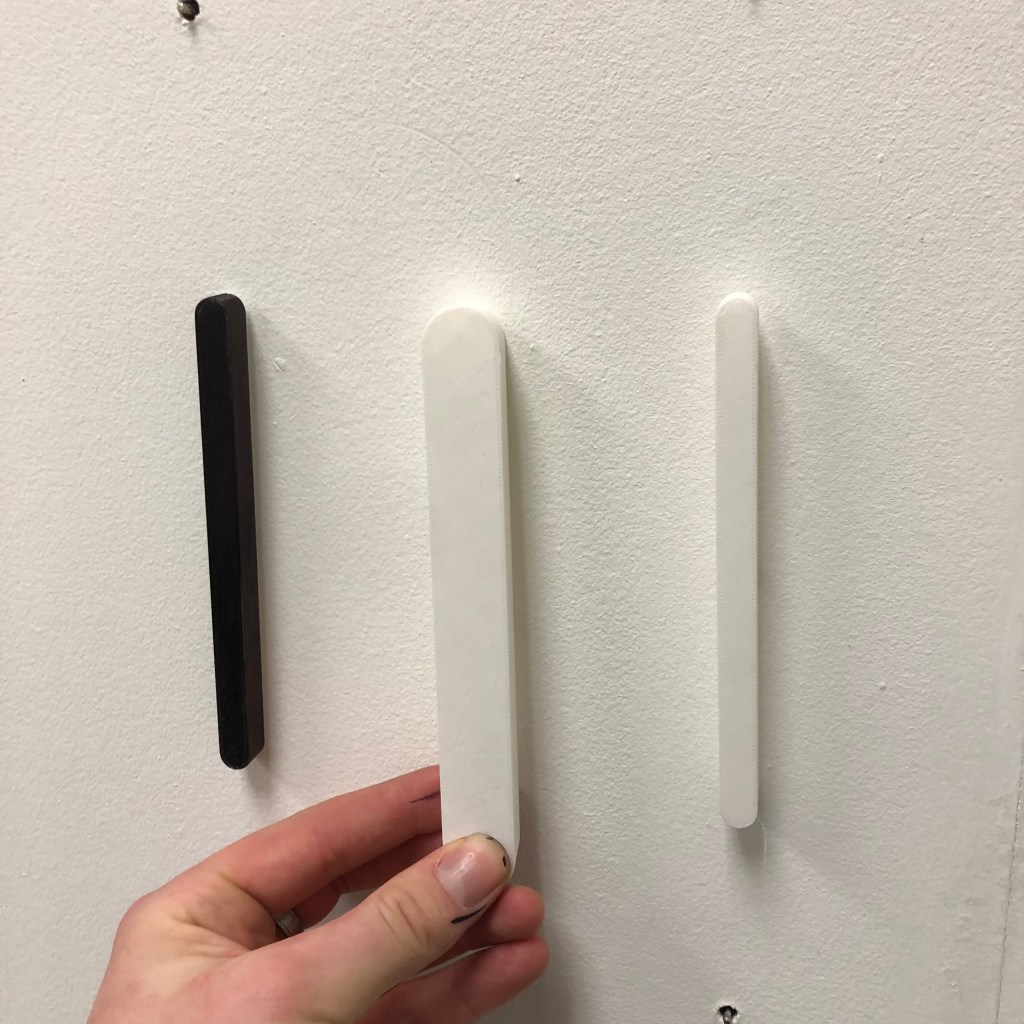
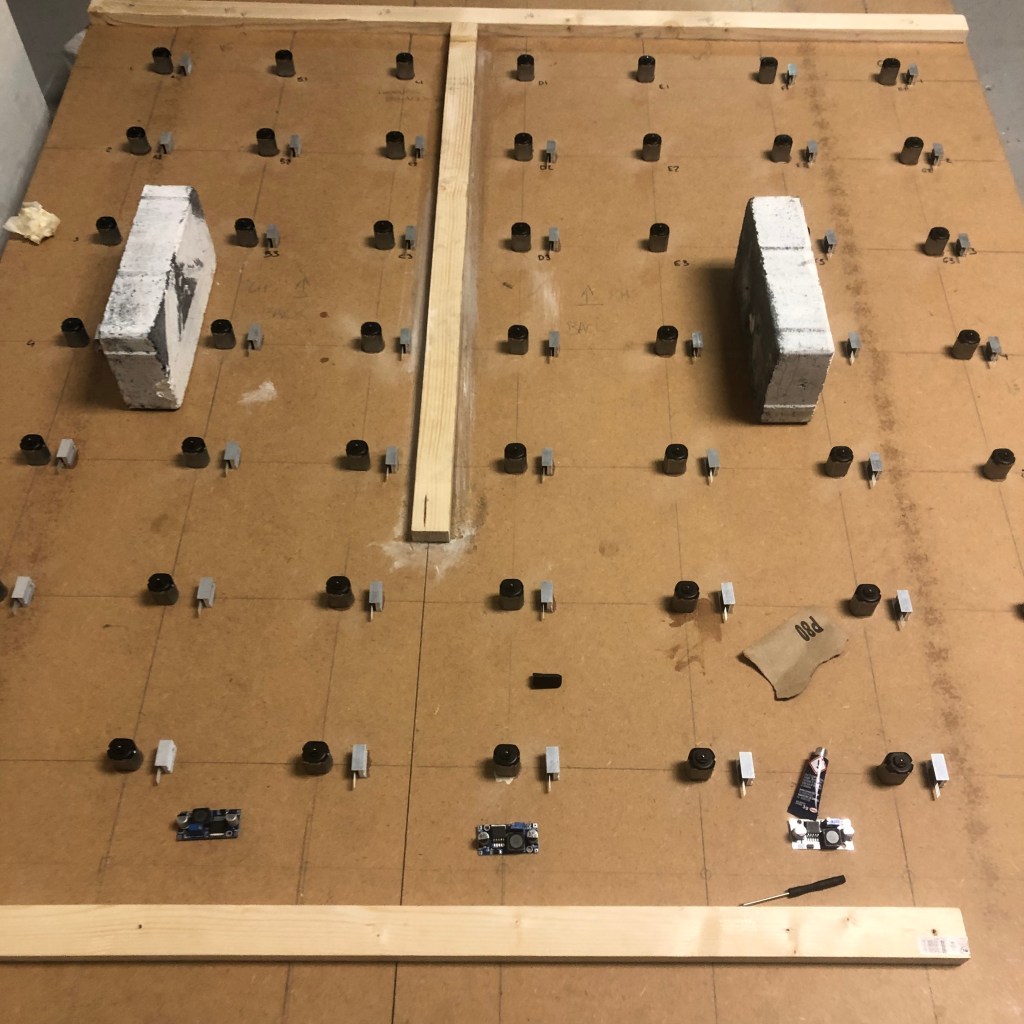
Once it had a few coats of paint, it was time for another of these no-turning-back moments, this time it was super-glueing the motors to the back of the board. You may be thinking that this is not a good idea, becuase if one of these very cheap motors were to burn out, or be defective for anyreason it would be a nightmare to change out. However, this was not going to be an issue, and using glue was actually to my benifit.
Since I could glue them to the back, there were no worries about fixing them in place from the front of the board, as in screws through the board to hold them in place. And concerning changing them out, since I was only glueing the stator/body of the motor, if there were to be any issues, it would be with the rotor, and so I could easily remove the brush and cap assembly and replace the rotor or even the brushes.
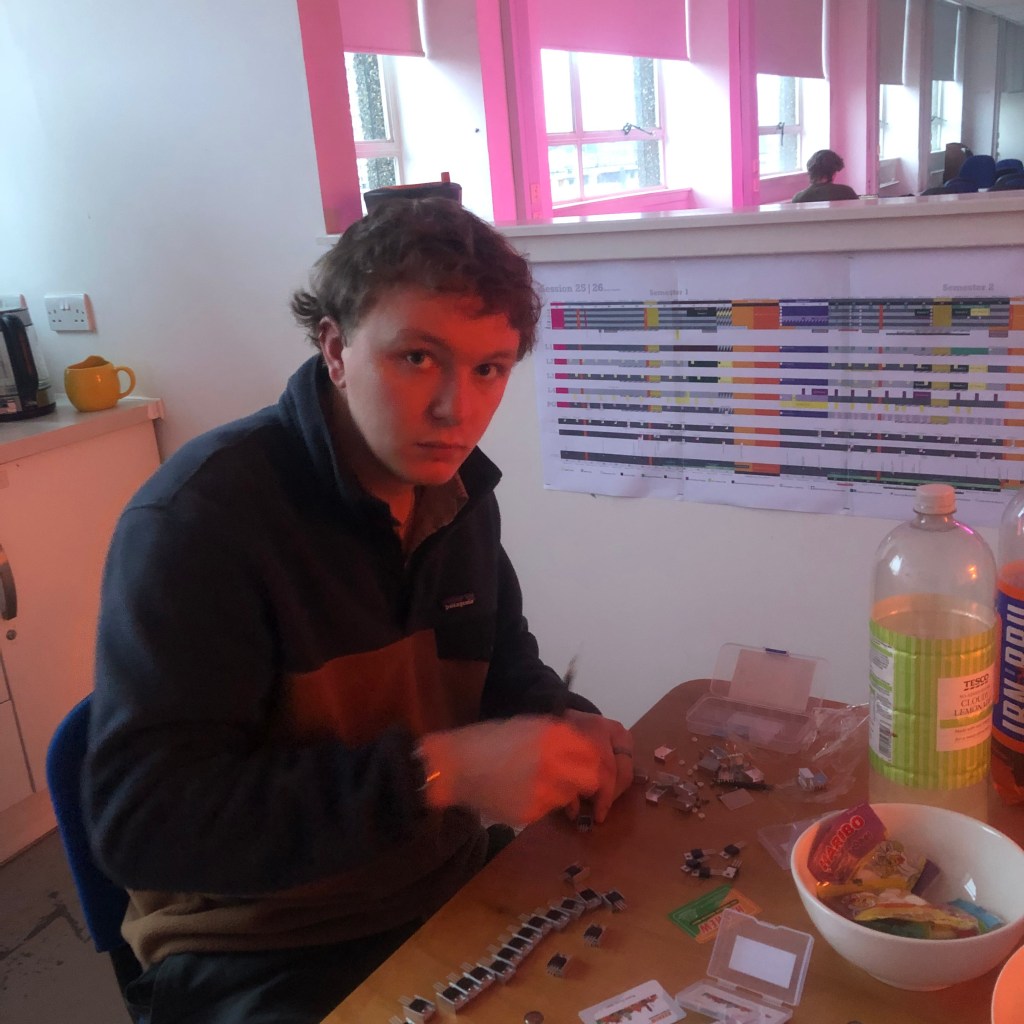
It would turn out that over the course of the project, I probably replaced more than 20 rotors on over a dozen motors. The reason for this was a major influence on the final outcome of the piece but I’ll get to that.